Hello all,
This is a follow-up from my previous post: Is it a good idea to purchase refurbished HDDs off Amazon ?
In this post I will give you my experience purchasing refurbished hard drives and upgrading my BTRFS RAID10 arrray by swaping all the 4 drives.
TL;DR: All 4 drives work fine. I was able to replace the drives in my array one at a time using an USB enclosure for the data transfer !
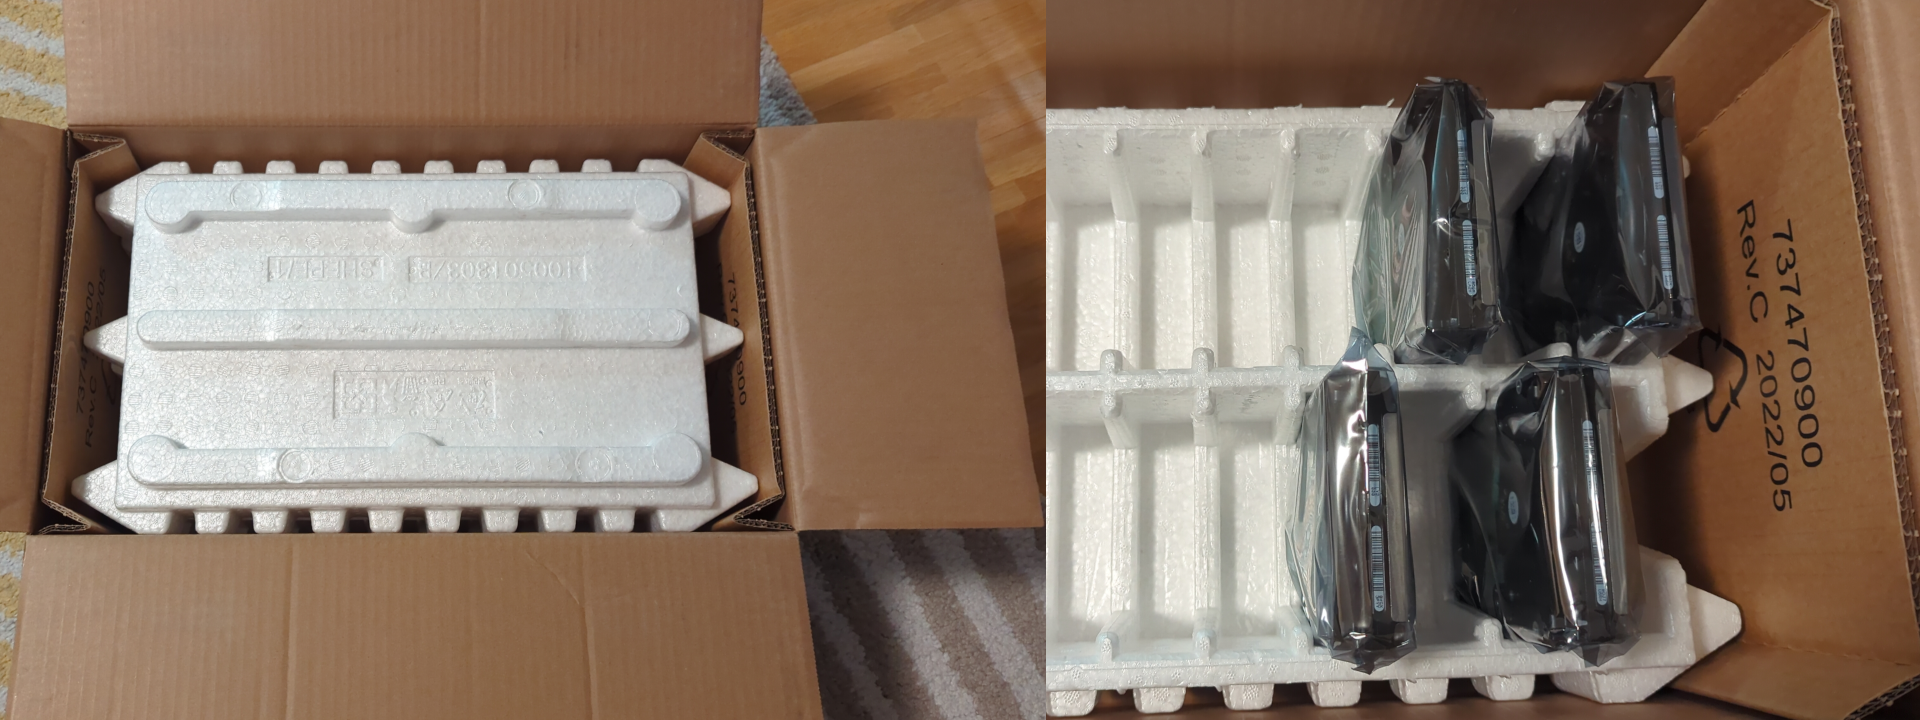
1. Purchasing & Unboxing
After reading the reply from my previous post, I ended up purchasing 4x WD Ultrastar DC HC520 12TB hard drives from Ebay (Germany).
The delivery was pretty fast, I received the package within 2 days.
The drive where very well packed by the seller, in a special styrofoam tray and anti-static bags
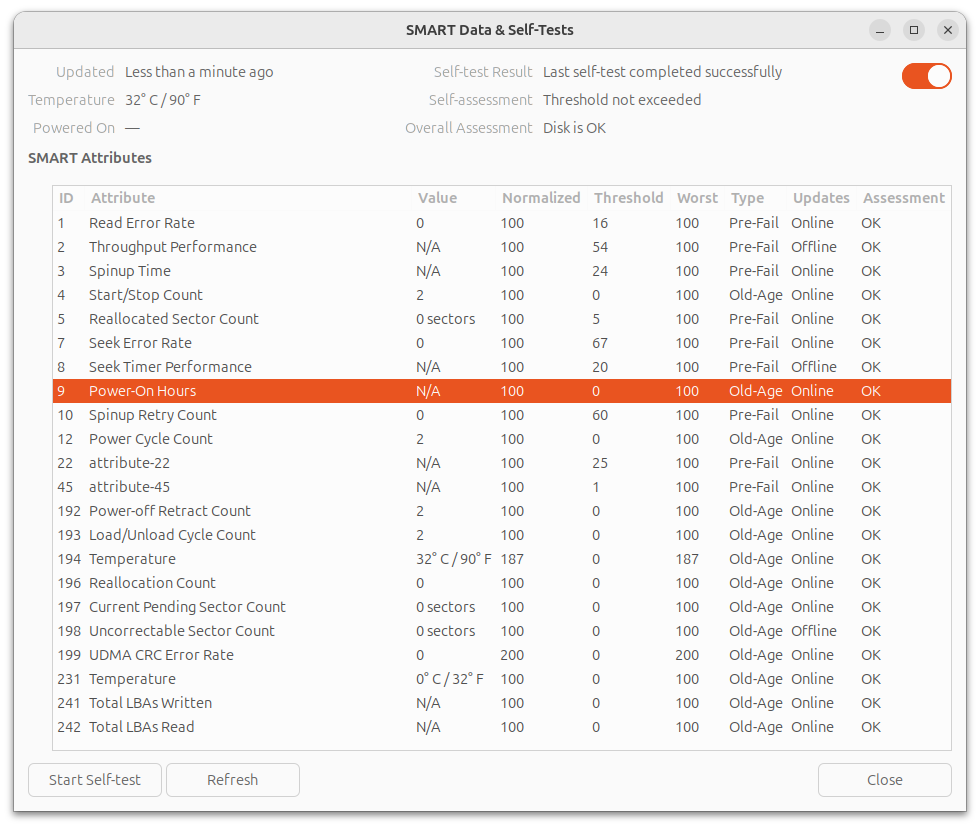
2. Sanity check
I connect the drives to a spare computer I have and spin-up an Ubuntu Live USB to run a S.MA.R.T check and read the values. SMART checks and data are available from GNOME Disks (gnome-disk-utility), if you don't want to bother with the terminal.
All the 4 disks passed the self check, I even did a complete check on 2 of them overnight and they both passed without any error.
More surprisingly, all the 4 disks report Power-ON Hours=N/A or 0. I don't think it means they are brand new, I suspect the values have been erased by the reseller.
3. Backup everything !
I've selected one of the 12TB drives and installed it inside an external USB3 enclosure. On my PC I formatted the drive to BTRFS with one partition with the entire capacity of the disk.
I then connected the, now external, drive to the NAS and transfer the entirety of my files (excluding a couple of things I don't need for sure), using rsync:
rsync -av --progress --exclude 'lost+found' --exclude 'quarantine' --exclude '.snapshots' /mnt/volume1/* /media/Backup_2024-10-12.btrfs --log-file=~/rsync_backup_20241012.log
Actually, I wanted to run the command detached, so I used the at command at (not sure if this is the best method to do this, feel free to propose some alternatives):
echo "rsync -av --progress --exclude 'lost+found' --exclude 'quarantine' --exclude '.snapshots' /mnt/volume1/* /media/Backup_2024-10-12.btrfs --log-file=~/rsync_backup_20241012.log" | at 23:32
The total volume of the data is 7.6TiB, the transfer took 19 hours to complete.
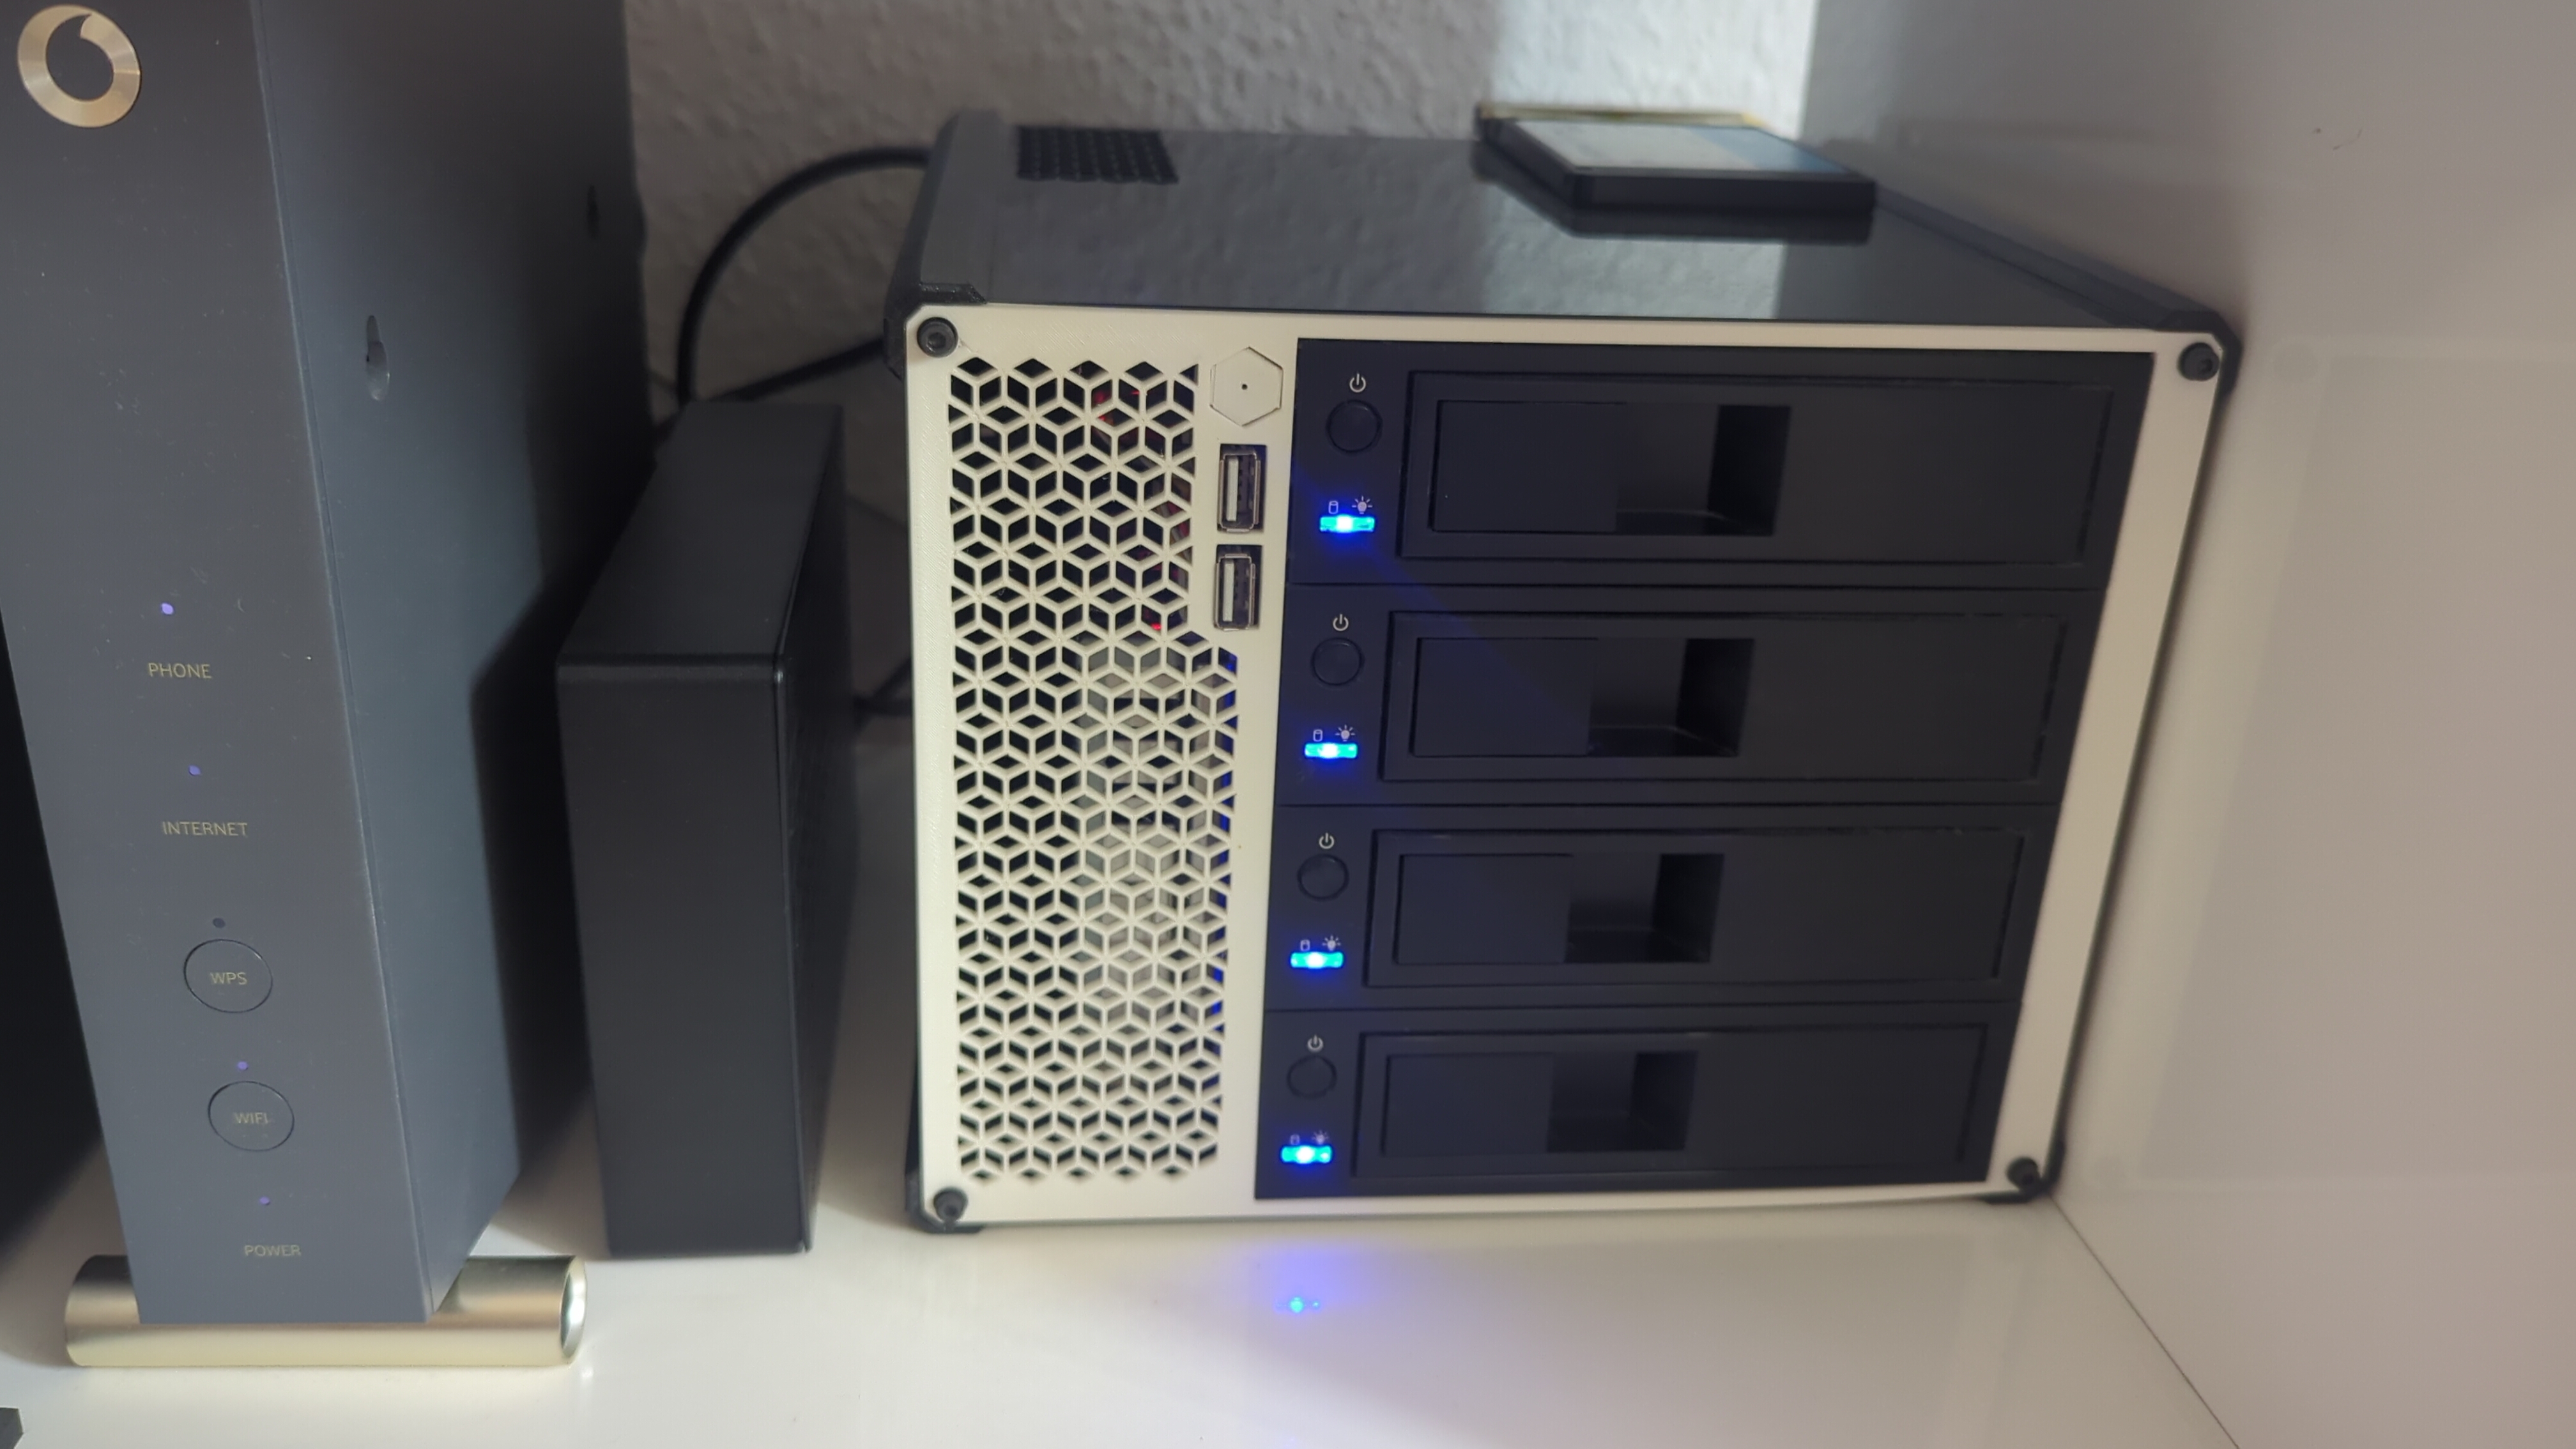
4. Replacing the drives
My RAID10 array, a.k.a volume1 is comprise of the disks sda, sdb, sdc and sdd, all of which are 6TB drives.
My NAS has only 4x SATA ports and all of them are occupied (volume2 is an SSD connected via USB3).
m4nas:~:% lsblk
NAME         MAJ:MIN RM   SIZE RO TYPE MOUNTPOINT
sda            8:0    1   5.5T  0 disk /mnt/volume1
sdb            8:16   1   5.5T  0 disk
sdc            8:32   1   5.5T  0 disk
sdd            8:48   1   5.5T  0 disk
sde            8:64   0 111.8G  0 disk
└─sde1         8:65   0 111.8G  0 part /mnt/volume2
sdf            8:80   0  10.9T  0 disk
mmcblk2      179:0    0  58.2G  0 disk
└─mmcblk2p1  179:1    0  57.6G  0 part /
mmcblk2boot0 179:32   0     4M  1 disk
mmcblk2boot1 179:64   0     4M  1 disk
zram0        252:0    0   1.9G  0 disk [SWAP]
According to documentation I could find (btrfs replace - readthedocs.io, Btrfs, replace a disk - tnonline.net), the best course of action is definitely to use the builtin BTRFS command replace.
From there, there are 2 method I can use:
- Connect new drive, one by one, via USB3 to run
replace, then swap the disks in the drive-bay
- Degraded mode, swap the disks one by one in the drive-bays and rebuild the array
Method #1 seems to me faster and safer, and I've decided to tried this one first. If it doesn't work, I can fallback to method #2 (which I had to for one of the disks !).
4.a. Replace the disks one-by-one via USB
I've installed a blank 12TB disk in my USB enclosure and mounted it to the NAS. It is showing as sdf.
Now, it's time to run the replace command as described here: Btrfs, Replacing a disk, Replacing a disk in a RAID array
sudo btrfs replace start 1 /dev/sdf /mnt/volume1
We can see the new disk is shown as ID 0 while the replace operation takes place:
m4nas:~:% btrfs filesystem show
Label: 'volume1'  uuid: 543e5c4f-4012-4204-bf28-1e4e651ce2e8
	Total devices 4 FS bytes used 7.51TiB
	devid    0 size 5.46TiB used 3.77TiB path /dev/sdf
	devid    1 size 5.46TiB used 3.77TiB path /dev/sda
	devid    2 size 5.46TiB used 3.77TiB path /dev/sdb
	devid    3 size 5.46TiB used 3.77TiB path /dev/sdc
	devid    4 size 5.46TiB used 3.77TiB path /dev/sdd

Label: 'ssd1'  uuid: 0b28580f-4a85-4650-a989-763c53934241
	Total devices 1 FS bytes used 46.78GiB
	devid    1 size 111.76GiB used 111.76GiB path /dev/sde1
It took around 15 hours to replace the disk. After it's done, I've got this:
m4nas:~:% sudo btrfs replace status /mnt/volume1
Started on 19.Oct 12:22:03, finished on 20.Oct 03:05:48, 0 write errs, 0 uncorr. read errs
m4nas:~:% btrfs filesystem show
Label: 'volume1'  uuid: 543e5c4f-4012-4204-bf28-1e4e651ce2e8
	Total devices 4 FS bytes used 7.51TiB
	devid    1 size 5.46TiB used 3.77TiB path /dev/sdf
	devid    2 size 5.46TiB used 3.77TiB path /dev/sdb
	devid    3 size 5.46TiB used 3.77TiB path /dev/sdc
	devid    4 size 5.46TiB used 3.77TiB path /dev/sdd

Label: 'ssd1'  uuid: 0b28580f-4a85-4650-a989-763c53934241
	Total devices 1 FS bytes used 15.65GiB
	devid    1 size 111.76GiB used 111.76GiB path /dev/sde1
In the end, the swap from USB to SATA worked perfectly !
m4nas:~:% lsblk
NAME         MAJ:MIN RM   SIZE RO TYPE MOUNTPOINT
sda            8:0    0 111.8G  0 disk
└─sda1         8:1    0 111.8G  0 part /mnt/volume2
sdb            8:16   1  10.9T  0 disk /mnt/volume1
sdc            8:32   1   5.5T  0 disk
sdd            8:48   1   5.5T  0 disk
sde            8:64   1   5.5T  0 disk
mmcblk2      179:0    0  58.2G  0 disk
└─mmcblk2p1  179:1    0  57.6G  0 part /
mmcblk2boot0 179:32   0     4M  1 disk
mmcblk2boot1 179:64   0     4M  1 disk
zram0        252:0    0   1.9G  0 disk [SWAP]
zram1        252:1    0    50M  0 disk /var/log
m4nas:~:% btrfs filesystem show
Label: 'volume1'  uuid: 543e5c4f-4012-4204-bf28-1e4e651ce2e8
	Total devices 4 FS bytes used 7.51TiB
	devid    1 size 5.46TiB used 3.77TiB path /dev/sdb
	devid    2 size 5.46TiB used 3.77TiB path /dev/sdc
	devid    3 size 5.46TiB used 3.77TiB path /dev/sdd
	devid    4 size 5.46TiB used 3.77TiB path /dev/sde

Label: 'ssd1'  uuid: 0b28580f-4a85-4650-a989-763c53934241
	Total devices 1 FS bytes used 13.36GiB
	devid    1 size 111.76GiB used 89.76GiB path /dev/sda1
Note that I haven't expended the partition to 12TB yet, I will do this once all the disks are replace.
The replace operation has to be repeated 3 more times, taking great attention each time to select the correct disk ID (2, 3 and 4) and replacement device (e.g: /dev/sdf).
4.b. Issue with replacing disk 2
While replacing disk 2, a problem occurred. The replace operation stopped progressing, despite not reporting any errors. After waiting couple of hours and confirming it was stuck, I decided to do something reckless that cause me a great deal of troubles later:
To kick-start the replace operation, I unplugged the power from the USB enclosure and plugged it back in (DO NOT DO THAT !), It seemed to work and the transfer started to progress again. But once completed, the RAID array was broken and the NAS wouldn't boot anymore.
(I will only talk about the things relevant to the disk replacement and will skip all the stupid things I did to make the situation worst, it took me a good 3 days to recover and get back on track...).
I had to forget and remove from the RAID array, both the drive ID=2 (the drive getting replaced) and ID=0 (the 'new' drive) in order to mount the array in degraded mode and start over the replace operation with the method #2. In the end it worked, and the 12TB drive is fully functional. I suppose the USB enclosure is not the most reliable, but the next 2 replacement worked just find like the first one.
What I should have done: abort the replace operation, and start over.
4.c. Extend volume to complete drives
Now that all 4 of my drives are upgraded to 12TB in my RAID array, I extend the filesystem to use all of the available space:
sudo btrfs filesystem resize 1:max /mnt/volume1
sudo btrfs filesystem resize 2:max /mnt/volume1
sudo btrfs filesystem resize 3:max /mnt/volume1
sudo btrfs filesystem resize 4:max /mnt/volume1
5. Always keep a full backup !
Earlier, I mentioned using one of the 'new' 12TB drive as a backup of my data. Before I use it in the NAS, and therefore erase this backup, I assembled 2 of the old drives into my spare computer and once again did a full copy of my NAS data using rsync over the network. This took a long while again, but I wouldn't skip this step !
6. Conclusion: what did I learn ?
- Buying and using refurbished drives was very easy and the savings are great ! I saved approximately 40% compared to the new price. Only time will tell if this was a good deal. I hope to get at least 4 more years out of these drives. That's my goal at least...
- Replacing HDDs via a USB3 enclosure is possible with BTRFS, it works 3 time out of 4 ! 😭
- Serial debug is my new best friend ! This part, I didn't detail in this post. Let's say my NAS is somewhat exotic NanoPi M4V2, I couldn't have unborked my system without a functioning UART adapter, and the one I already had in hand didn't work correctly. I had to buy a new one. And all the things I did (blindly) to try fixing my system were pointless and wrong.
I hope this post can be useful to someone in the future, or at least was interesting to some of you !


Anime wife. I think.