This weekend I did some experiments with turmeric powder. Here are some images of the results, and the description of how to create these microscopic chemical landscapes is given below.


Turmeric powder is a fantastic material to play with. The powder has a high concentration of colored and fluorescent curcuminoids and volatile turmerone oils.
When you use a polar solvent to extract these compounds, what you get is a kind of fluorescent oily resin called a turmeric 'oleoresin'.
The curcuminoids are yellow at acidic and neutral pH, but they become bright red at high pH due to keto-enol tautomerization. There is a lot of cool things you can do with the curcuminoids in terms of photo/electrochemistry.
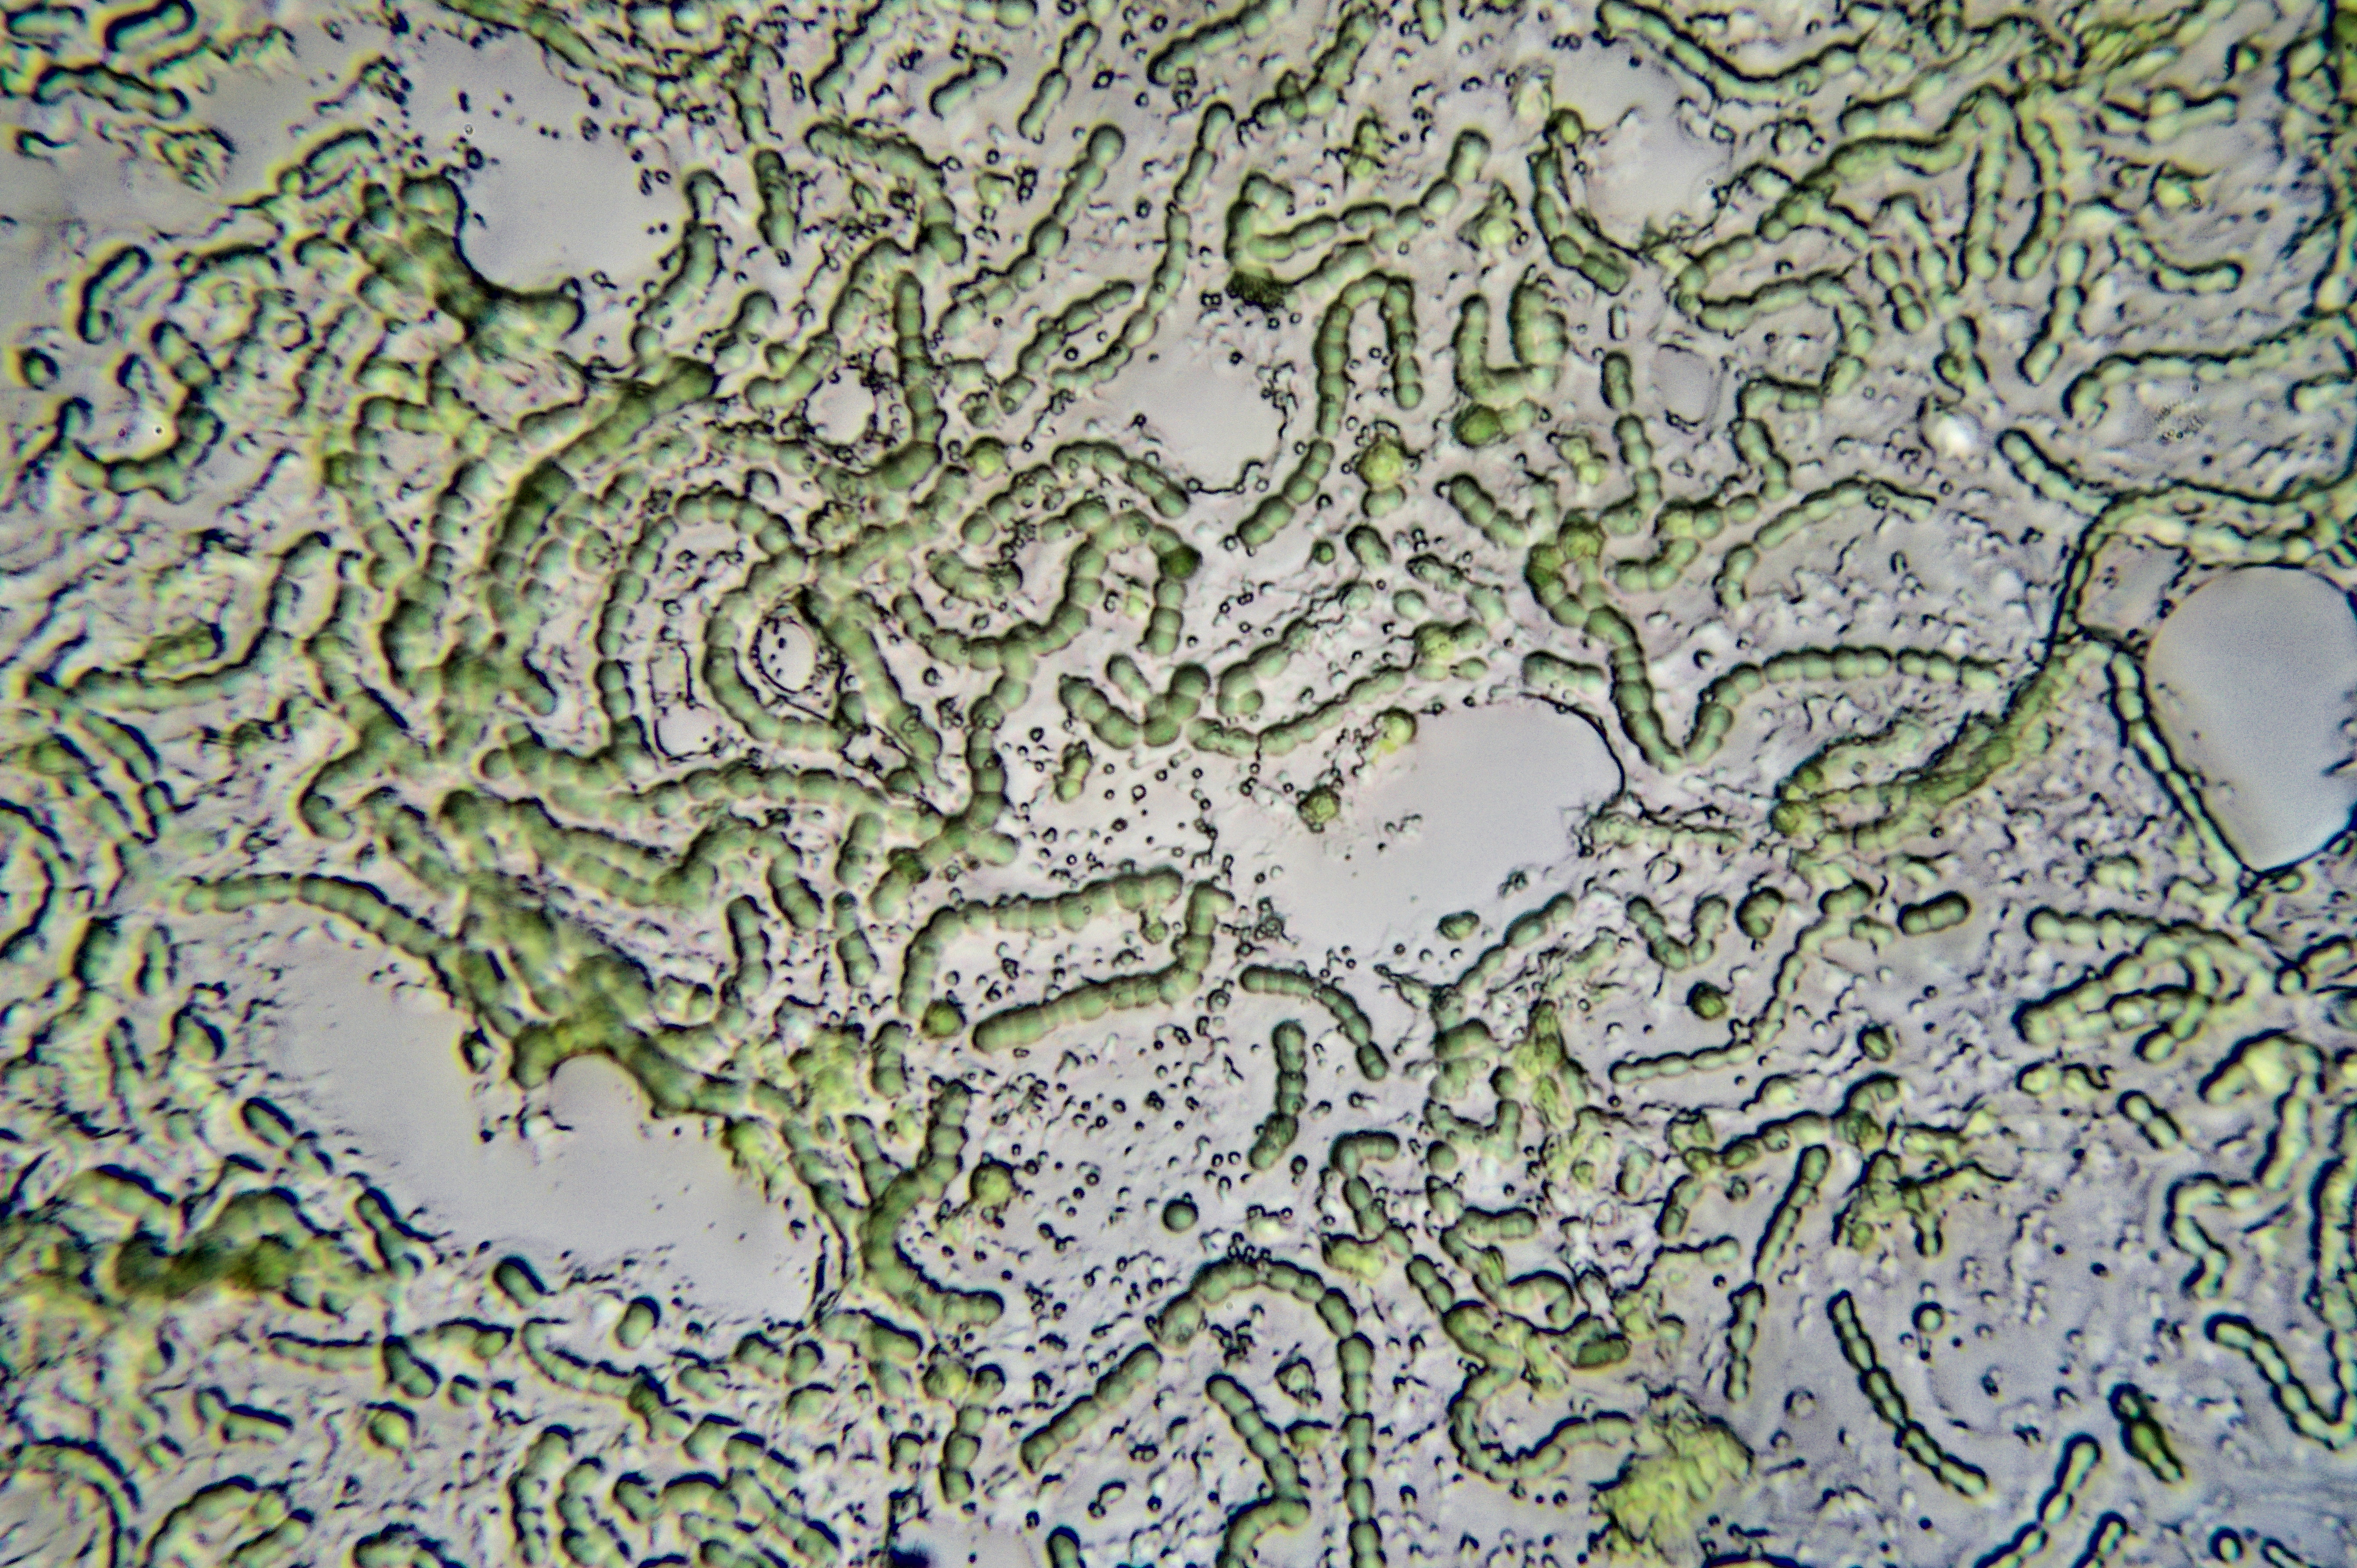
I have been playing with very simple chemistry under the microscope, and I have noticed that you can create some cool-looking micro-landscapes. During this process you can also see different types of physico-chemical processes happening in real time.
Procedure to do this:
- Place a few grams of turmeric powder into a glass container
- Add enough isopropanol to cover the material, and a bit more
- Mix
- Wait for the solids to settle
- Collect a bit of the isopropanol liquid from the top and place on a glass coverslip
- Wait for the isopropanol to evaporate.
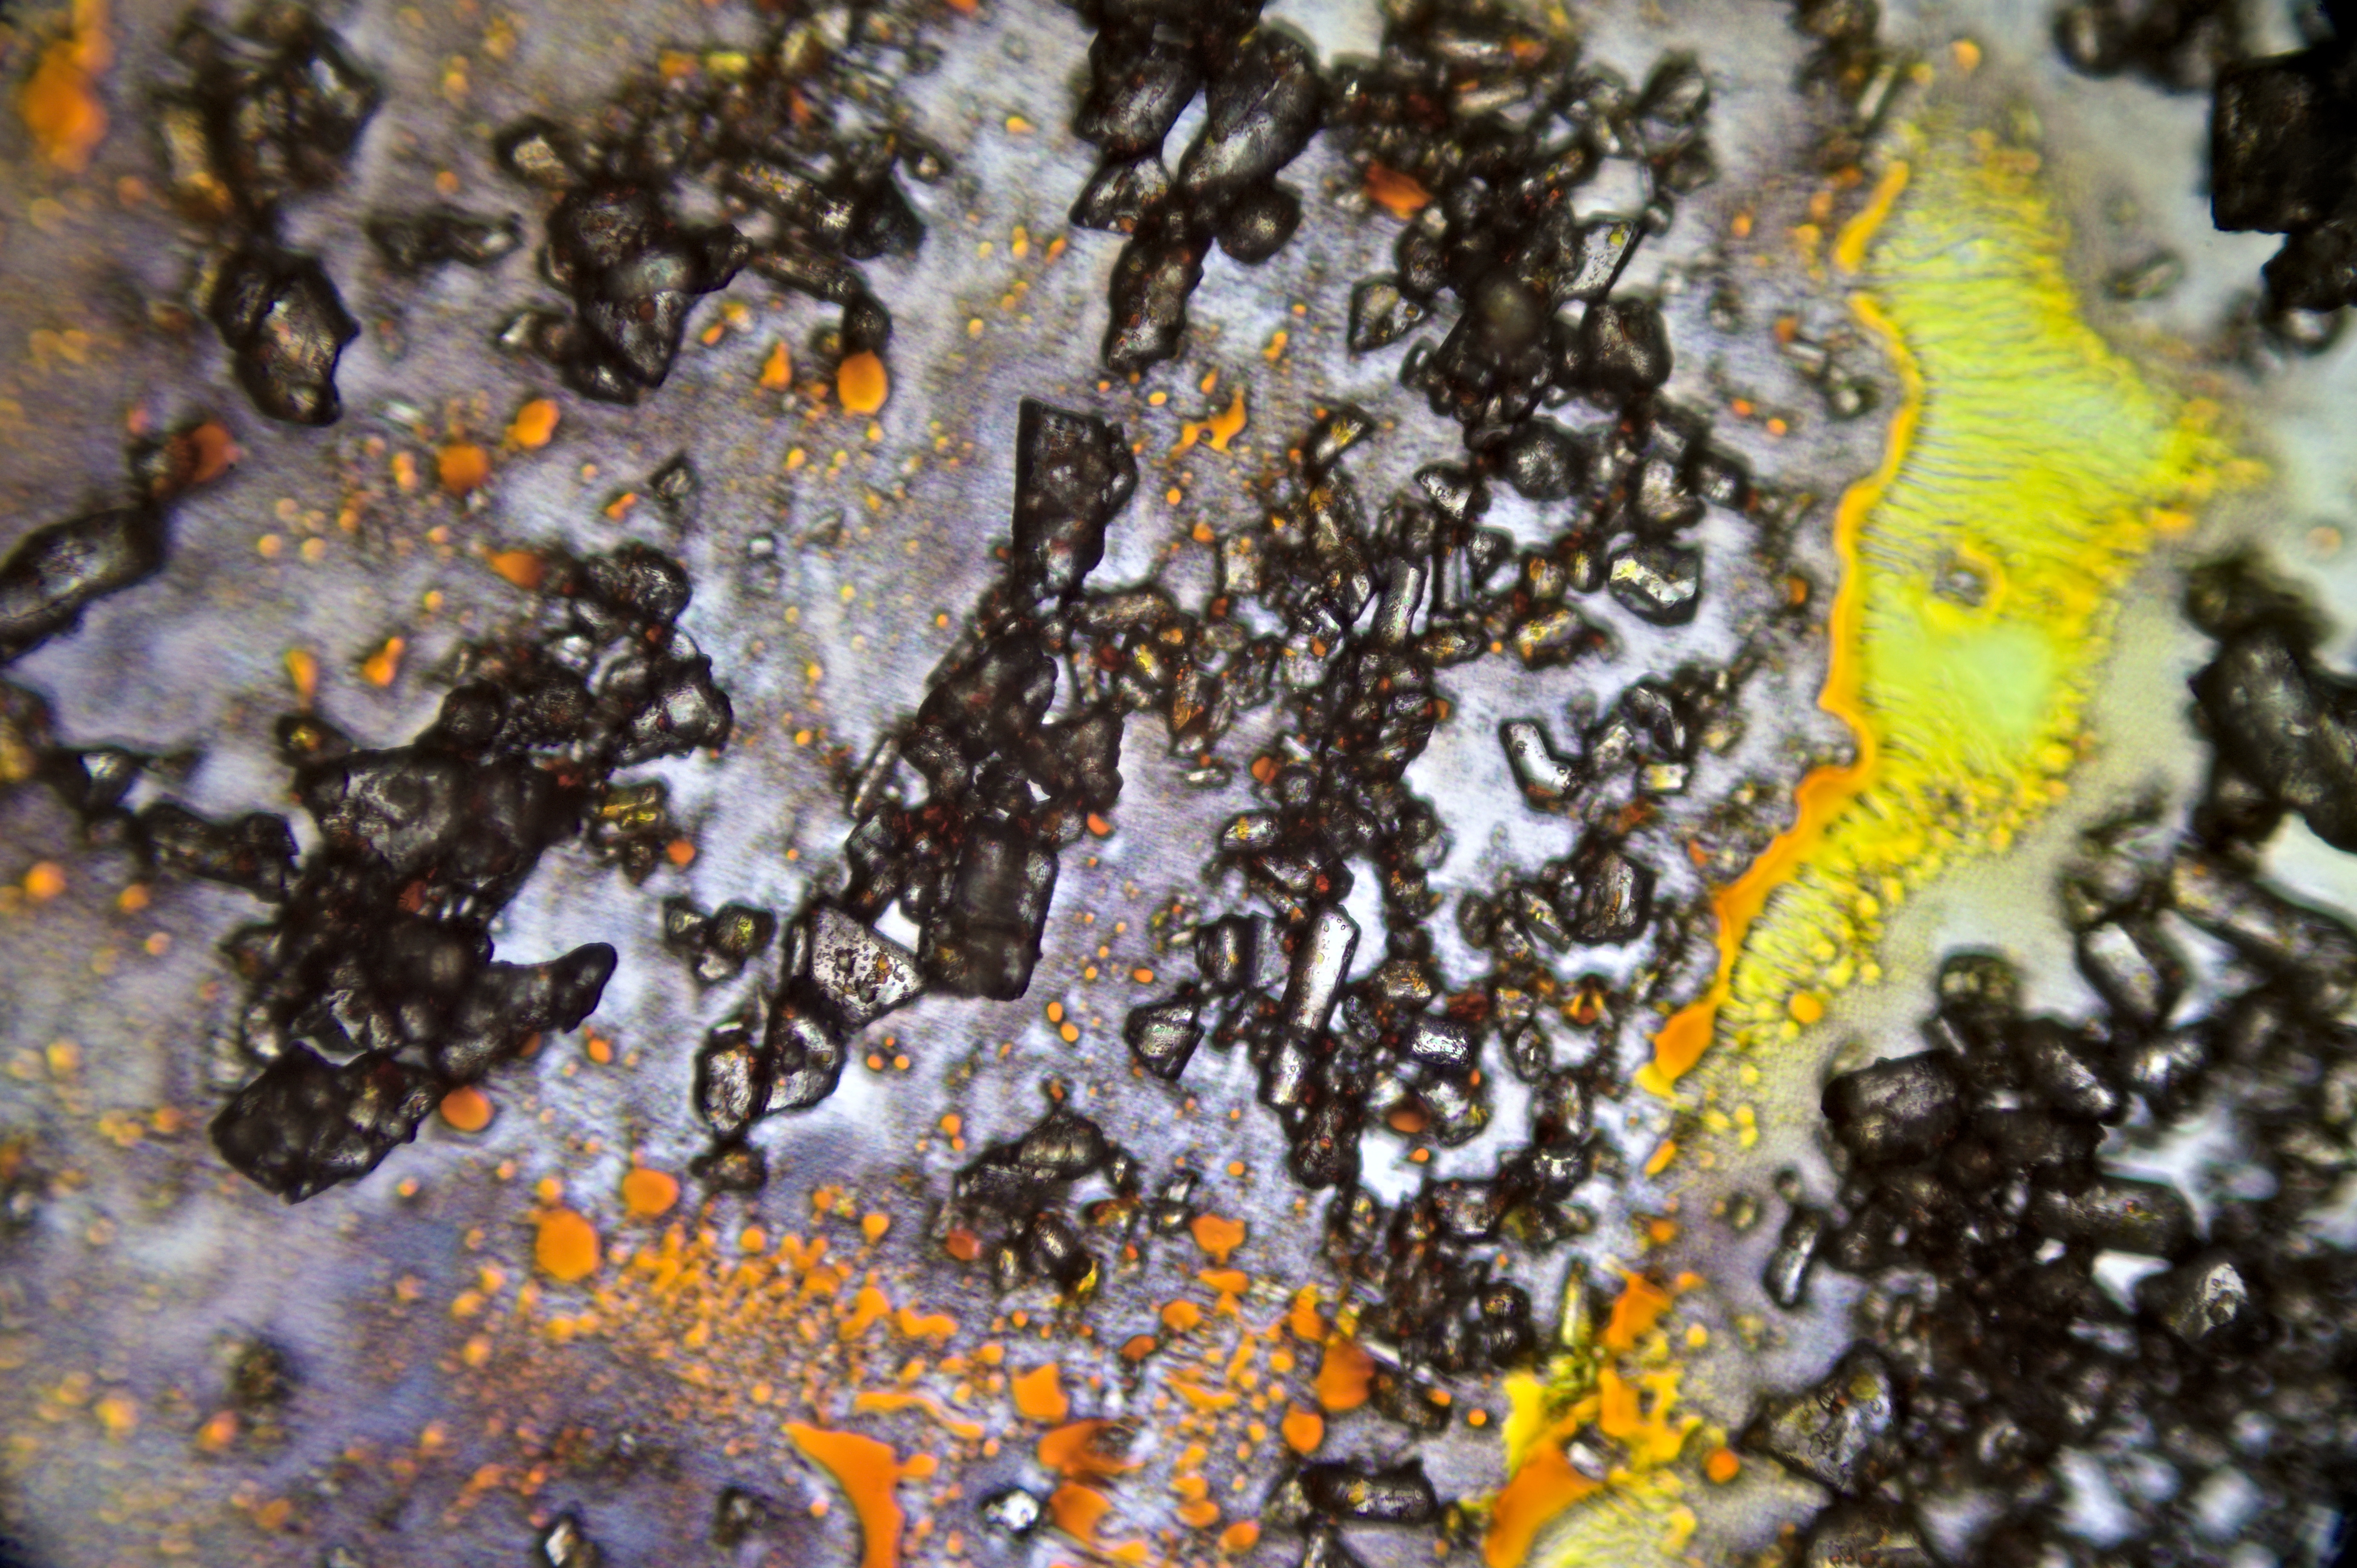
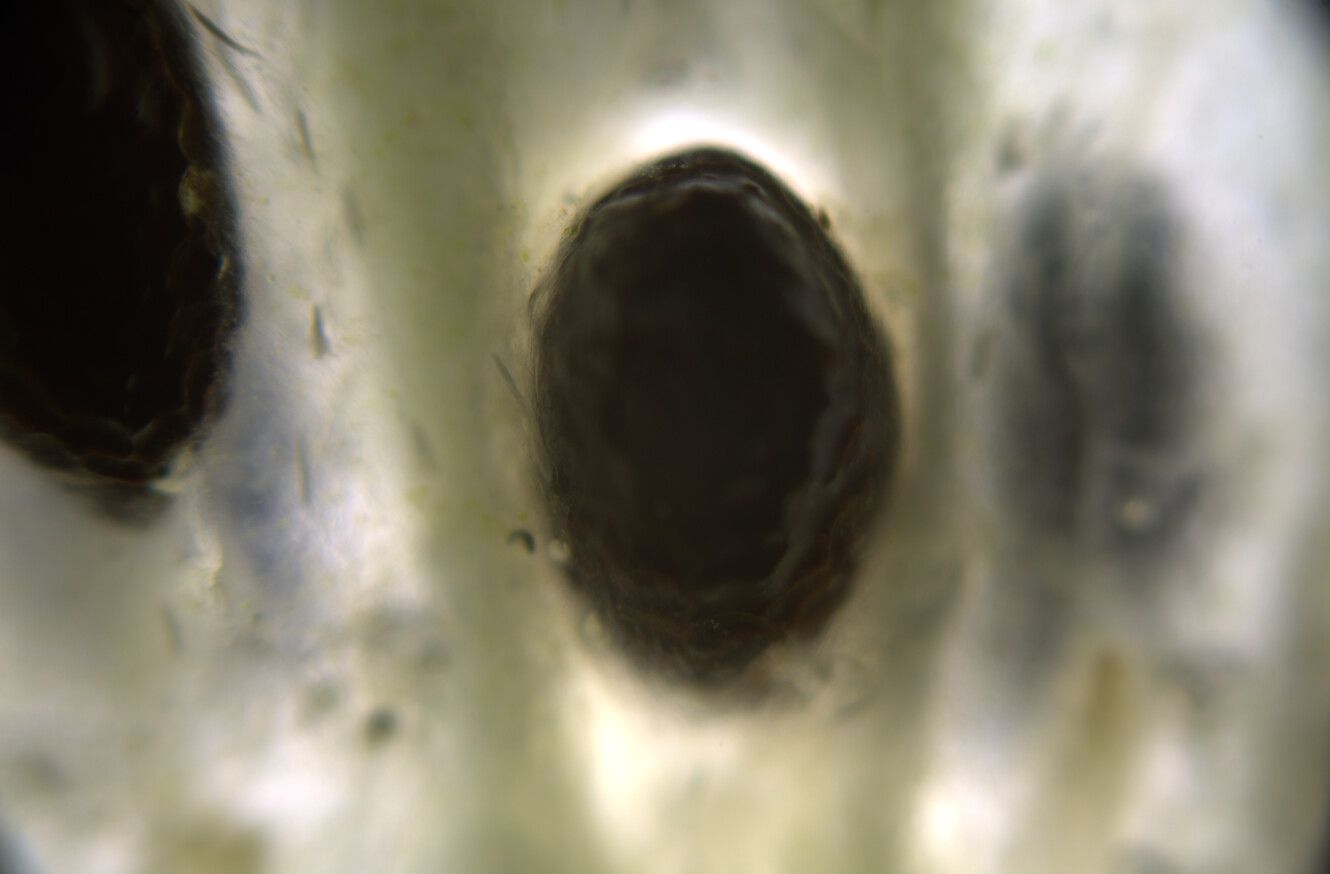
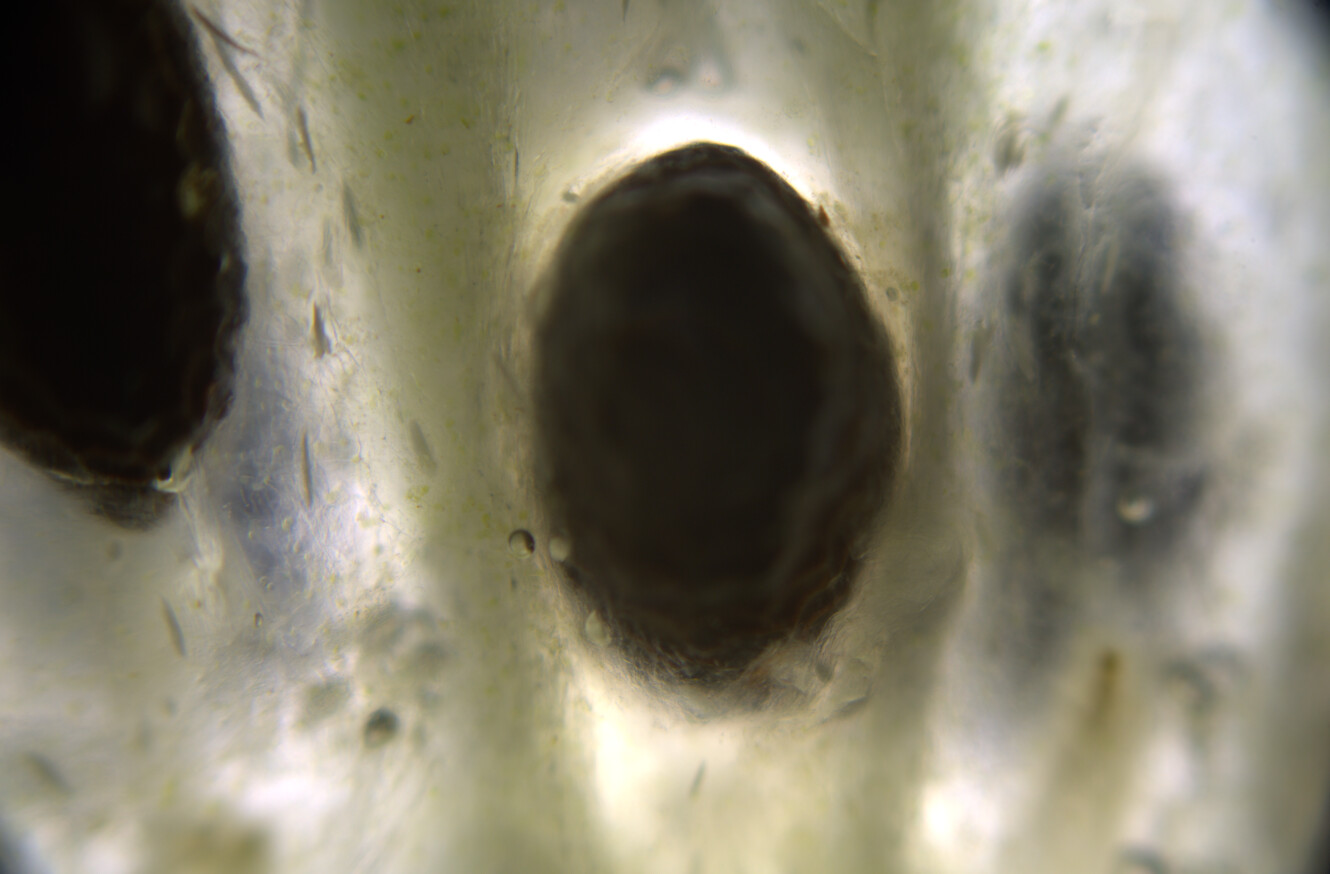
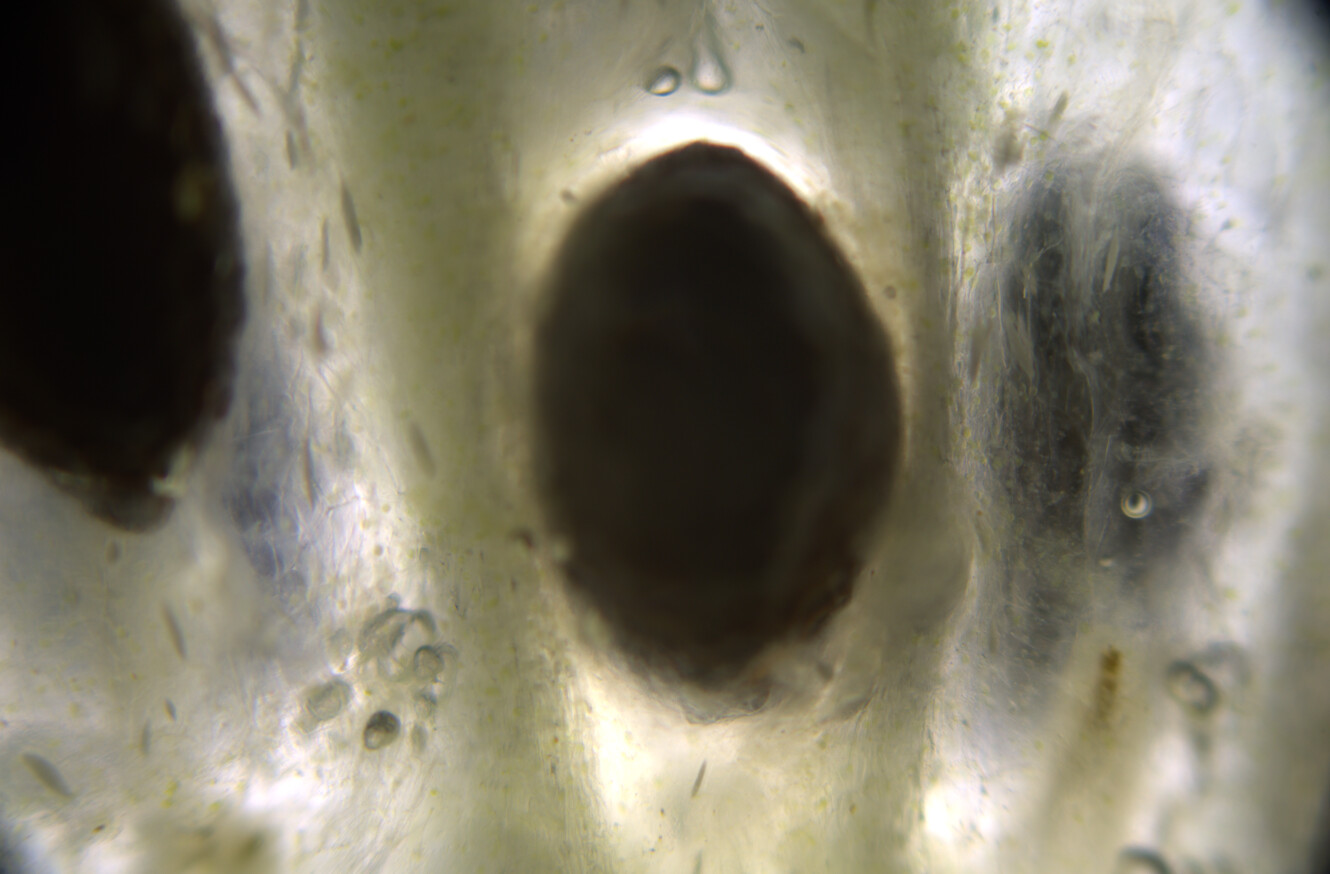
At this time, you can see under the microscope that golden oil droplets have been deposited, and that the surroundings are also yellow. The drops are oleoresins, which consist of curcuminoids suspended in turmerones and other oily compounds. Thin curcuminoid films might also be forming in between these droplets.
-
Add a sprinkle of baking soda crystals (sodium bicarbonate) on top of the coverslip. You can blow on the coverslip if you accidentally add too much.
-
Add a small drop of water, and wait a bit.
At this time you can see that the crystals are dissolving under the microscope, but the colors are not changing. The water and oils are not mixing, and so you get this film of alkaline water surrounding the oil droplets, but nothing is yet really changing.
- After waiting a few minutes, add a drop of isopropanol.
Now the isopropanol will re-dissolve the oleoresin and mix with the alkaline water. The carbonate ions are now able to react with the curcuminoids, and when they do, they go into the ketone form and instantly turn red. Under the microscope you can see quite dramatic movements of yellow and rad streaking as well as turbulent movements of the baking soda crystals.
-
Wait some time for the liquids to evaporate again
-
You will end up with a landscape that combines yellow resins, red resins, sodium bicarbonate crystals, and several different patterns.
You can vary the parameters - the amount of sodium bicarbonate, the position and size of the drops, you can pre-mix the water and isopropanol, etc. Small changes can drastically affect the resulting landscape.


Congrats!! Is your trip still ongoing, or you are done for now?