3DPrinting

15512 readers
178 users here now

3DPrinting is a place where makers of all skill levels and walks of life can learn about and discuss 3D printing and development of 3D printed parts and devices.

The r/functionalprint community is now located at: [email protected] or [email protected]

There are CAD communities available at: [email protected] or [email protected]

Rules

If you need an easy way to host pictures, https://catbox.moe may be an option. Be ethical about what you post and donate if you are able or use this a lot. It is just an individual hosting content, not a company. The image embedding syntax for Lemmy is ![](URL)

Moderation policy: Light, mostly invisible

founded 1 year ago
MODERATORS
1


So my trusty USB-C Dongle which I use to connect my switch to a TV on the road is dying. The cable has frayed and I don't want to touch it any more.

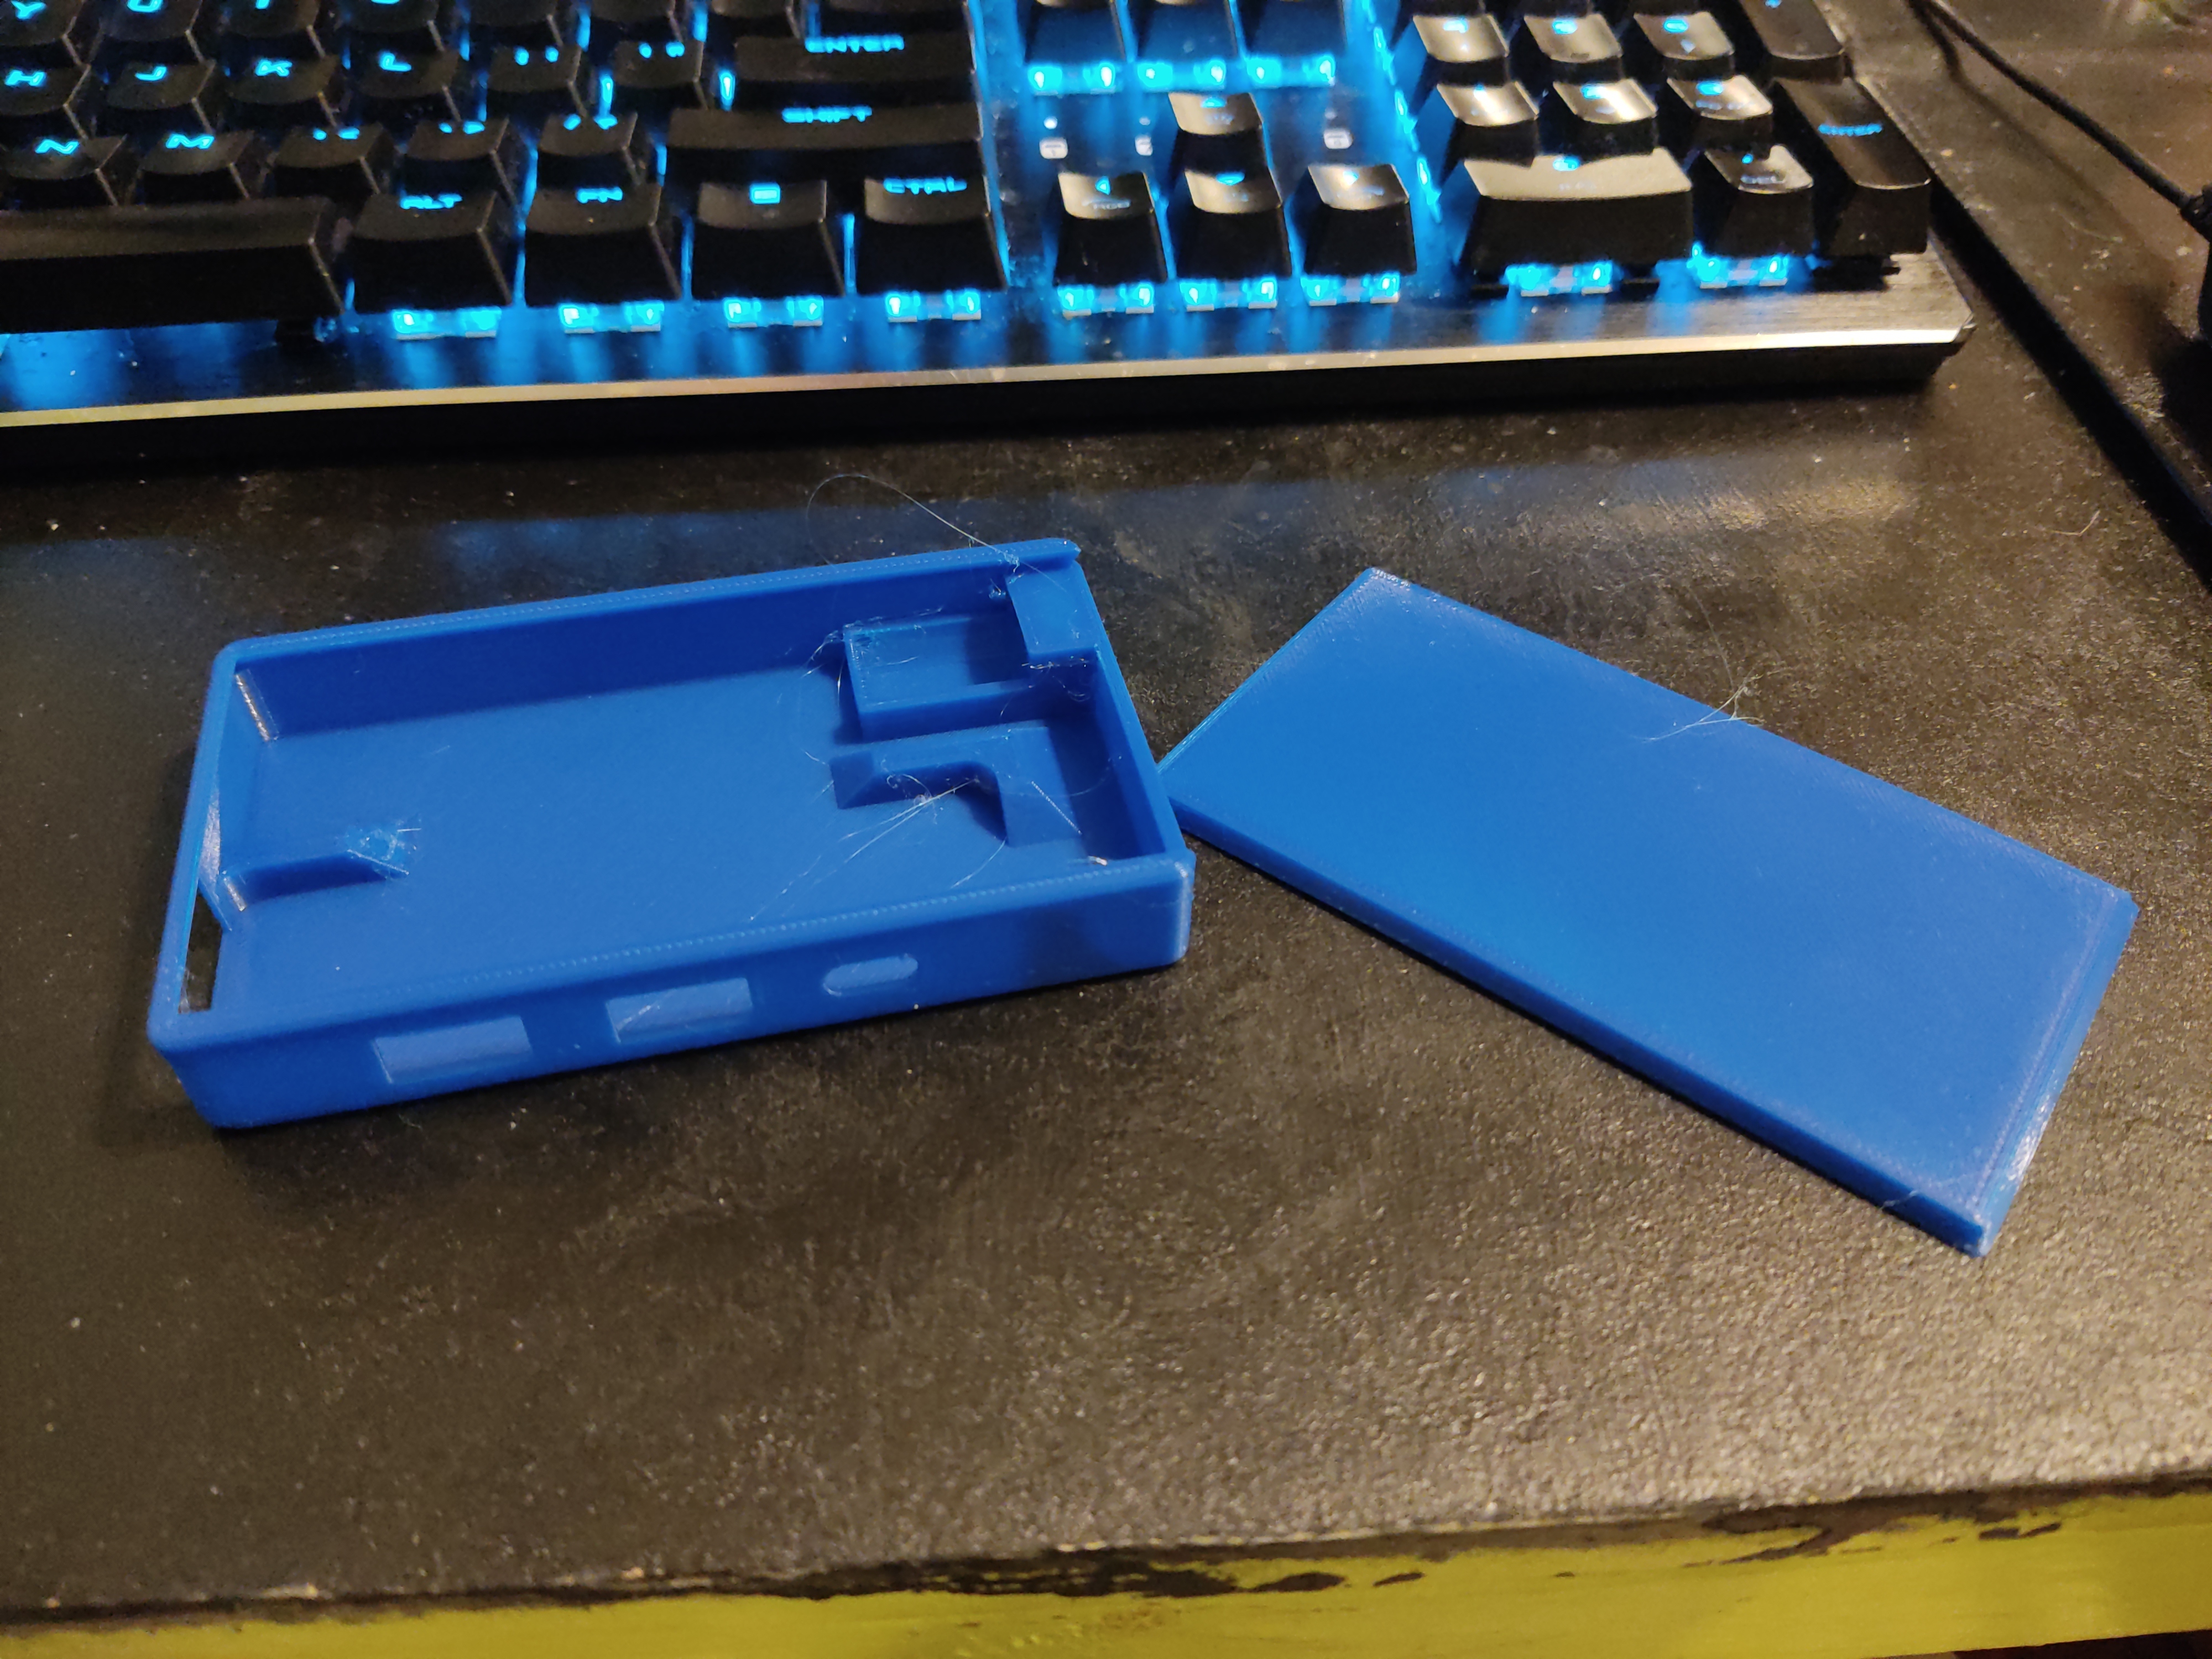
So I decided to turn it into a USB-C Hub... basically give it a shell to hide away the cable.

Designed the part in FreeCAD in 30 min, and BOOM

Needed to do a bit of a redesign after the first print, what you see here is the V2. The Lid slides on and the USB-C to C female connector is slotted in. Needed to heat it up to get it to fit.

But I am very pleased with the design. Works well (now the slots are bigger. And I can safely throw it into a bag without risk of self destruction.

Sure I do need more cables but this also means I can upgrade/replace cables when they ware down.

5/7 would recommend!

2
31
submitted 2 days ago* (last edited 2 days ago) by [email protected] to c/[email protected]


Hey folks. I posted a while back asking for some advice on a future purchase.

To sum up. My brother and I are visually impaired and retired through that.

We have purchased a tiny 25ft narrowboat between us we use to travel around the UK.

And as our vision is getting worse (we will likely lose it eventually). I have some major electrical work planed this year to make thing easy for us to maintain.

So I was looking for advice on nylon printing. Yep it has to be nylon. Because some of this stuff needs to sit over the tiny hot engine plus alternator and survive diesel splashes amd bilge water etc while supporting electronics.

But some here also pointed out petg will work when. The heat is less high. So thanks.

This is just an update that i have just had the printer etc delivered.

I have a Neptune 4 pro with a tent and vent system to keep temprature and fumes safe stable.

I have a 70c filament dryer and plan to print Descicant hokder to be placed in spools with lids that hold hydrometers. This and some vacuum bags should allow storing the petg and nylon easyer. Then Microwaving the stuff when the meters are above 25%

Also those desicant holders look worth adapting somehow for the boat.

So now I need to replan my workshop to make setting all this up and using it easy vision wise. That will take a good few days.

This is basically a thank you for your help in the past and a "Hi ill be posting the mess I make learning how to get this workjng over the next few months. "

Thanks guys all the best

3


https://www.youtube.com/watch?v=x79l7UO_qww

Caveat: The bike used is an e-bike with a powered wheel. The pedals have very little load requirements and no long-term or load testing is shown. As one of the most hardcore roadies you'll ever interact with, personally, I believe this would not last more than a week if it could survive a single ride on a traditional bike and someone like myself based on my first impression of the design. Still, the idea is impressive to me. In practice, a robust enough design will likely outweigh a chain drive by an order of magnitude. The reason the chain and cog transmission is standard is because of the balance of weight to durability. Every single gram matters on a bicycle far more than may be apparent at first.

4


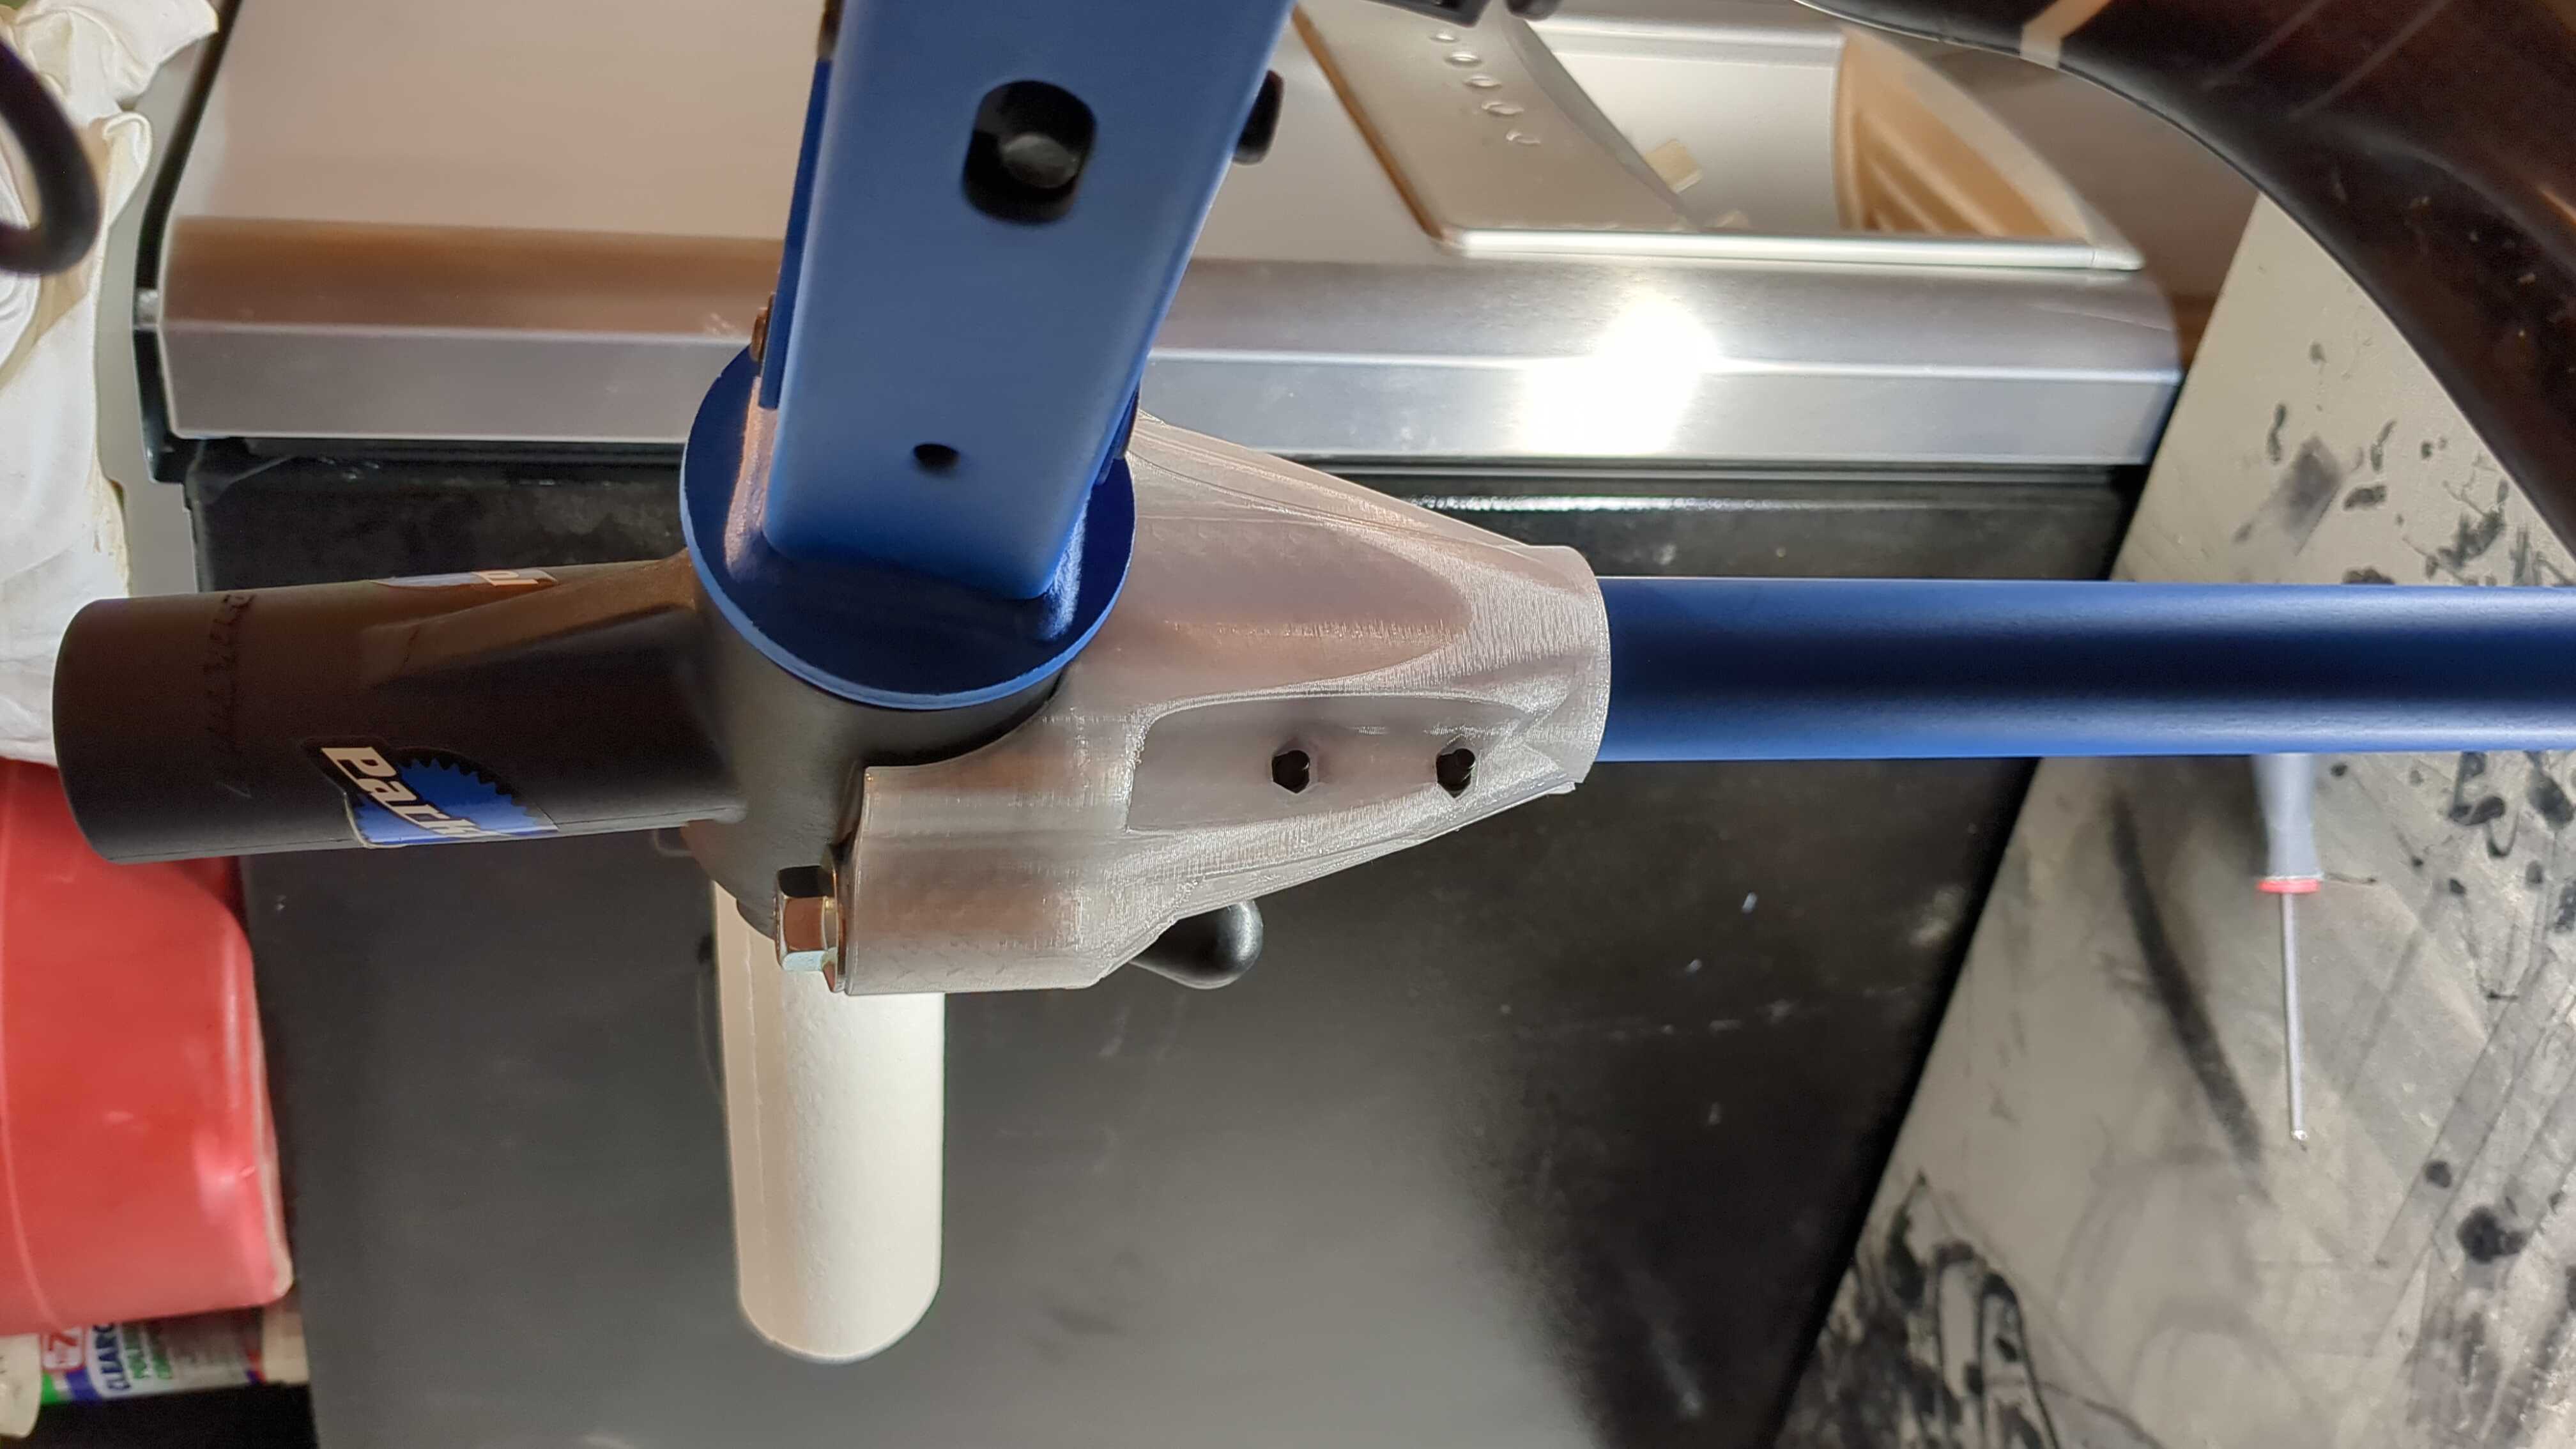
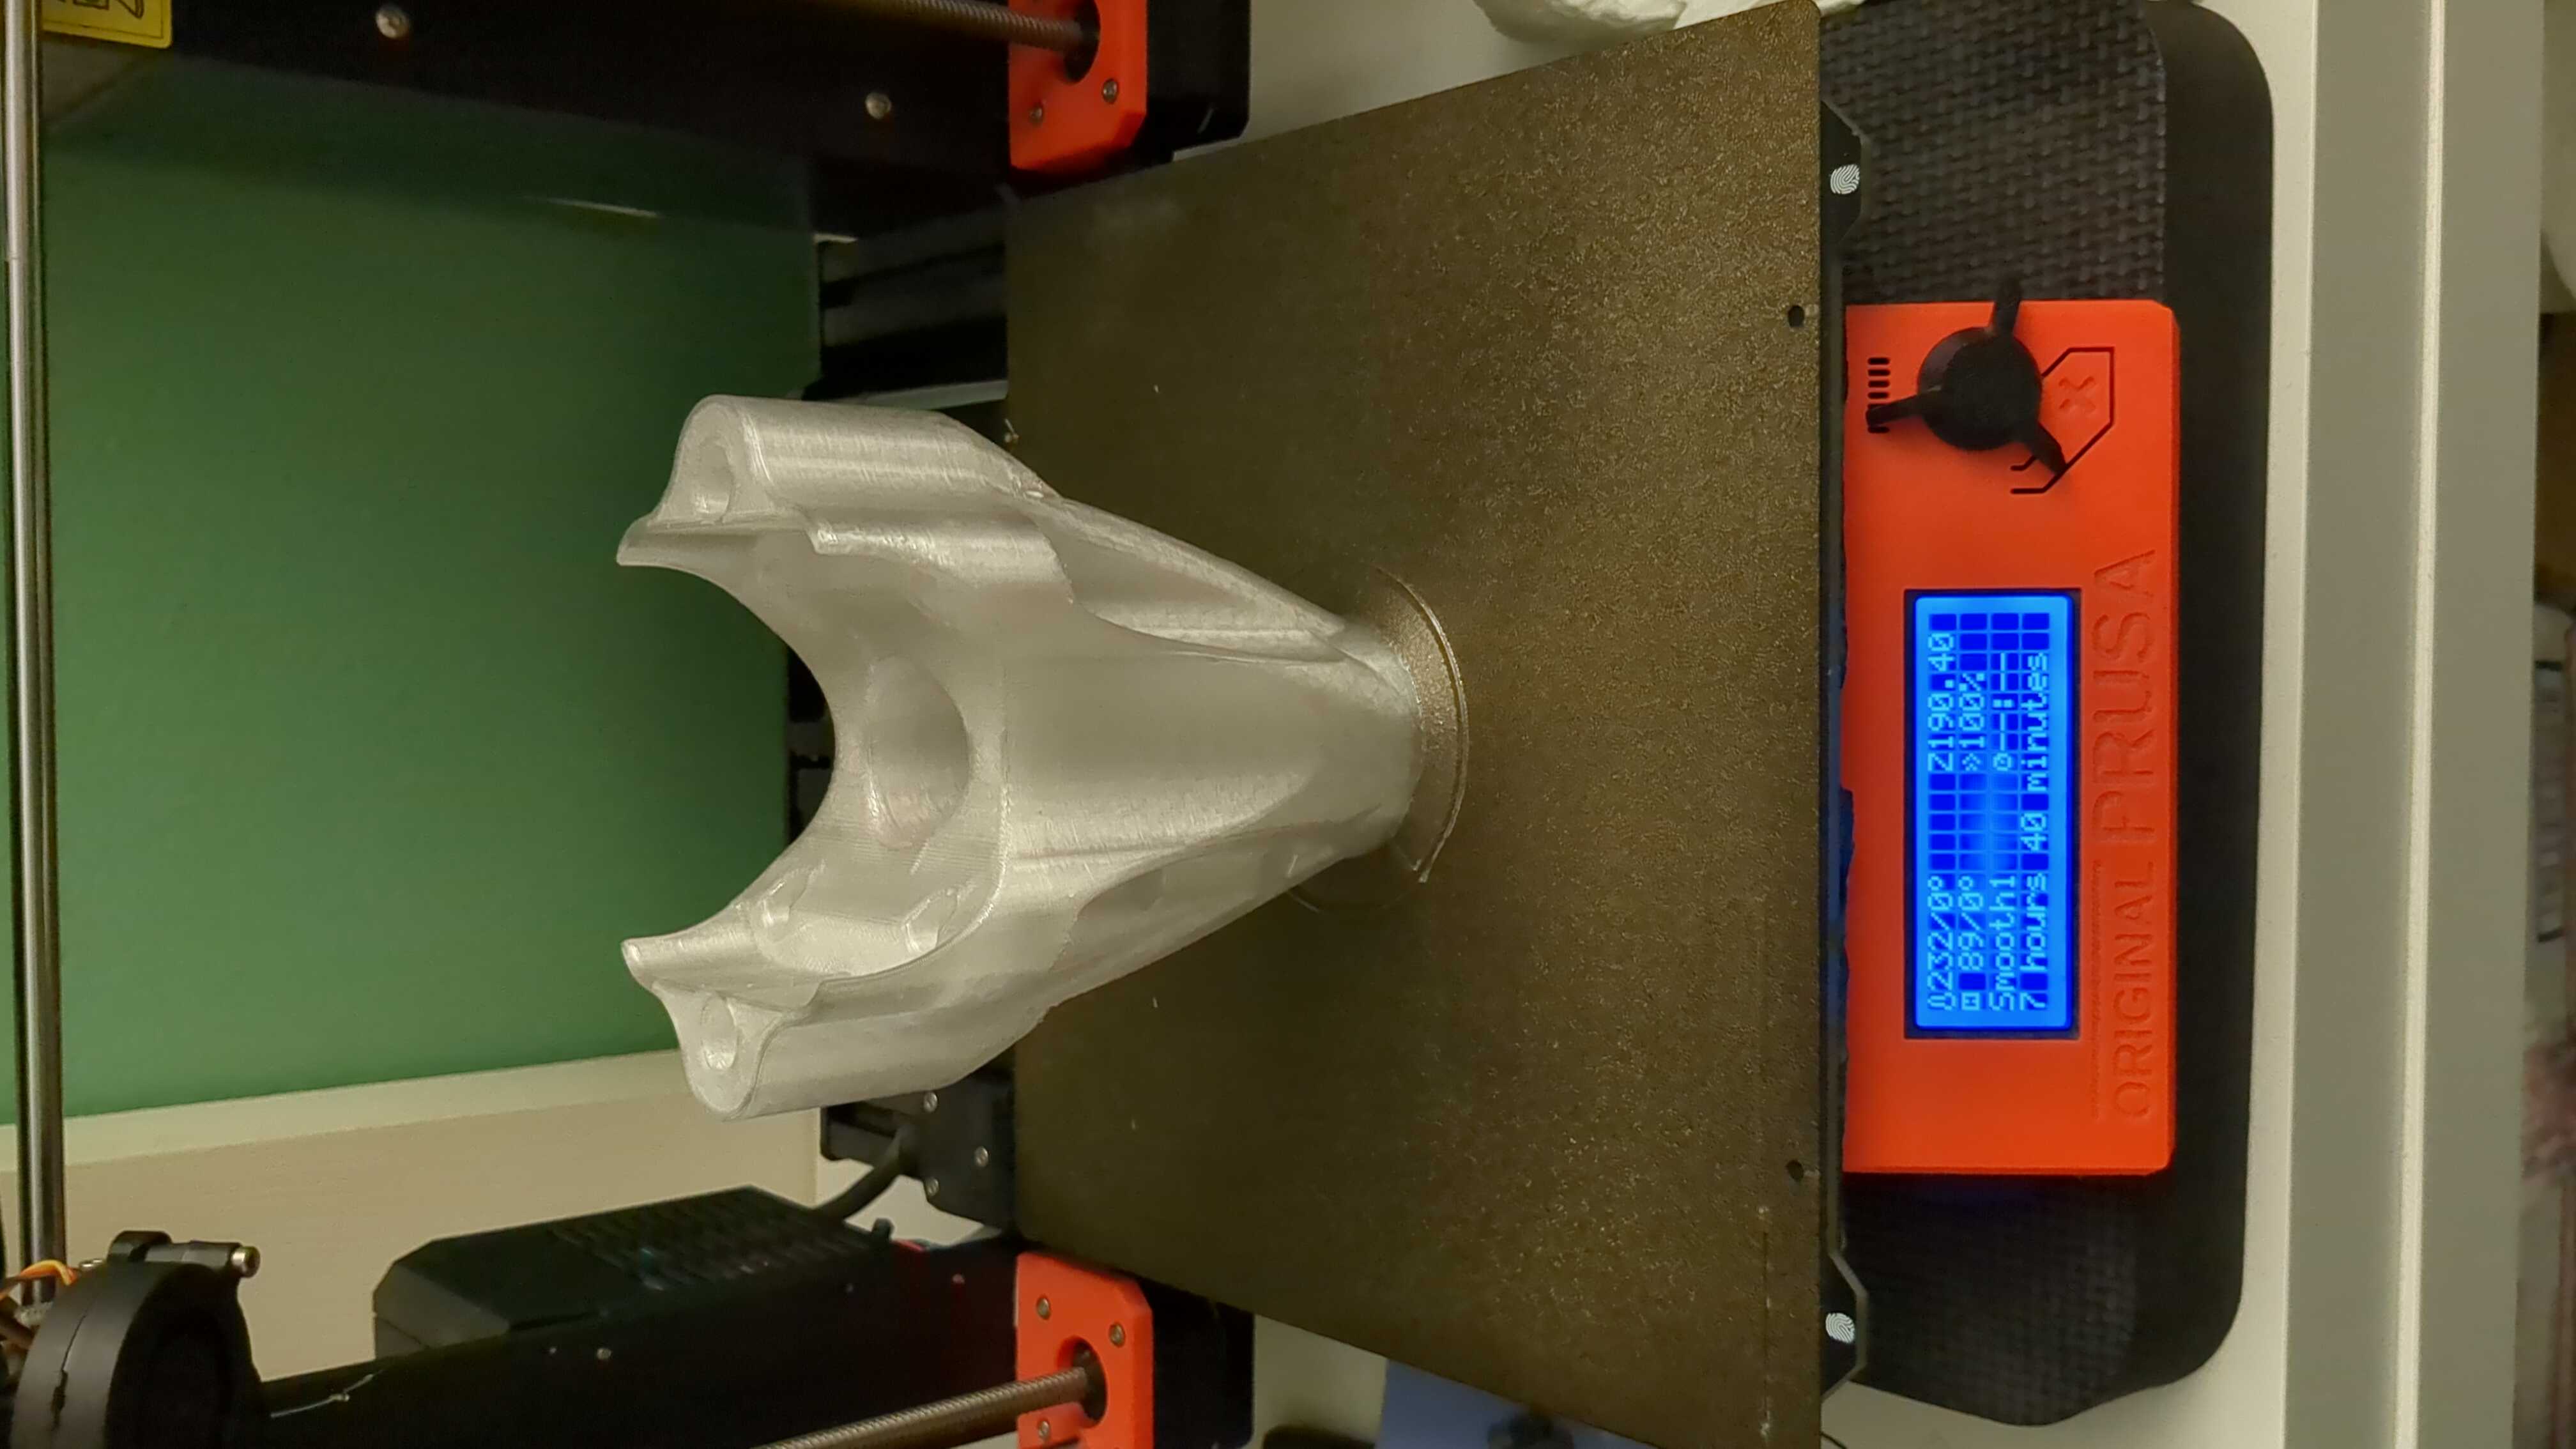
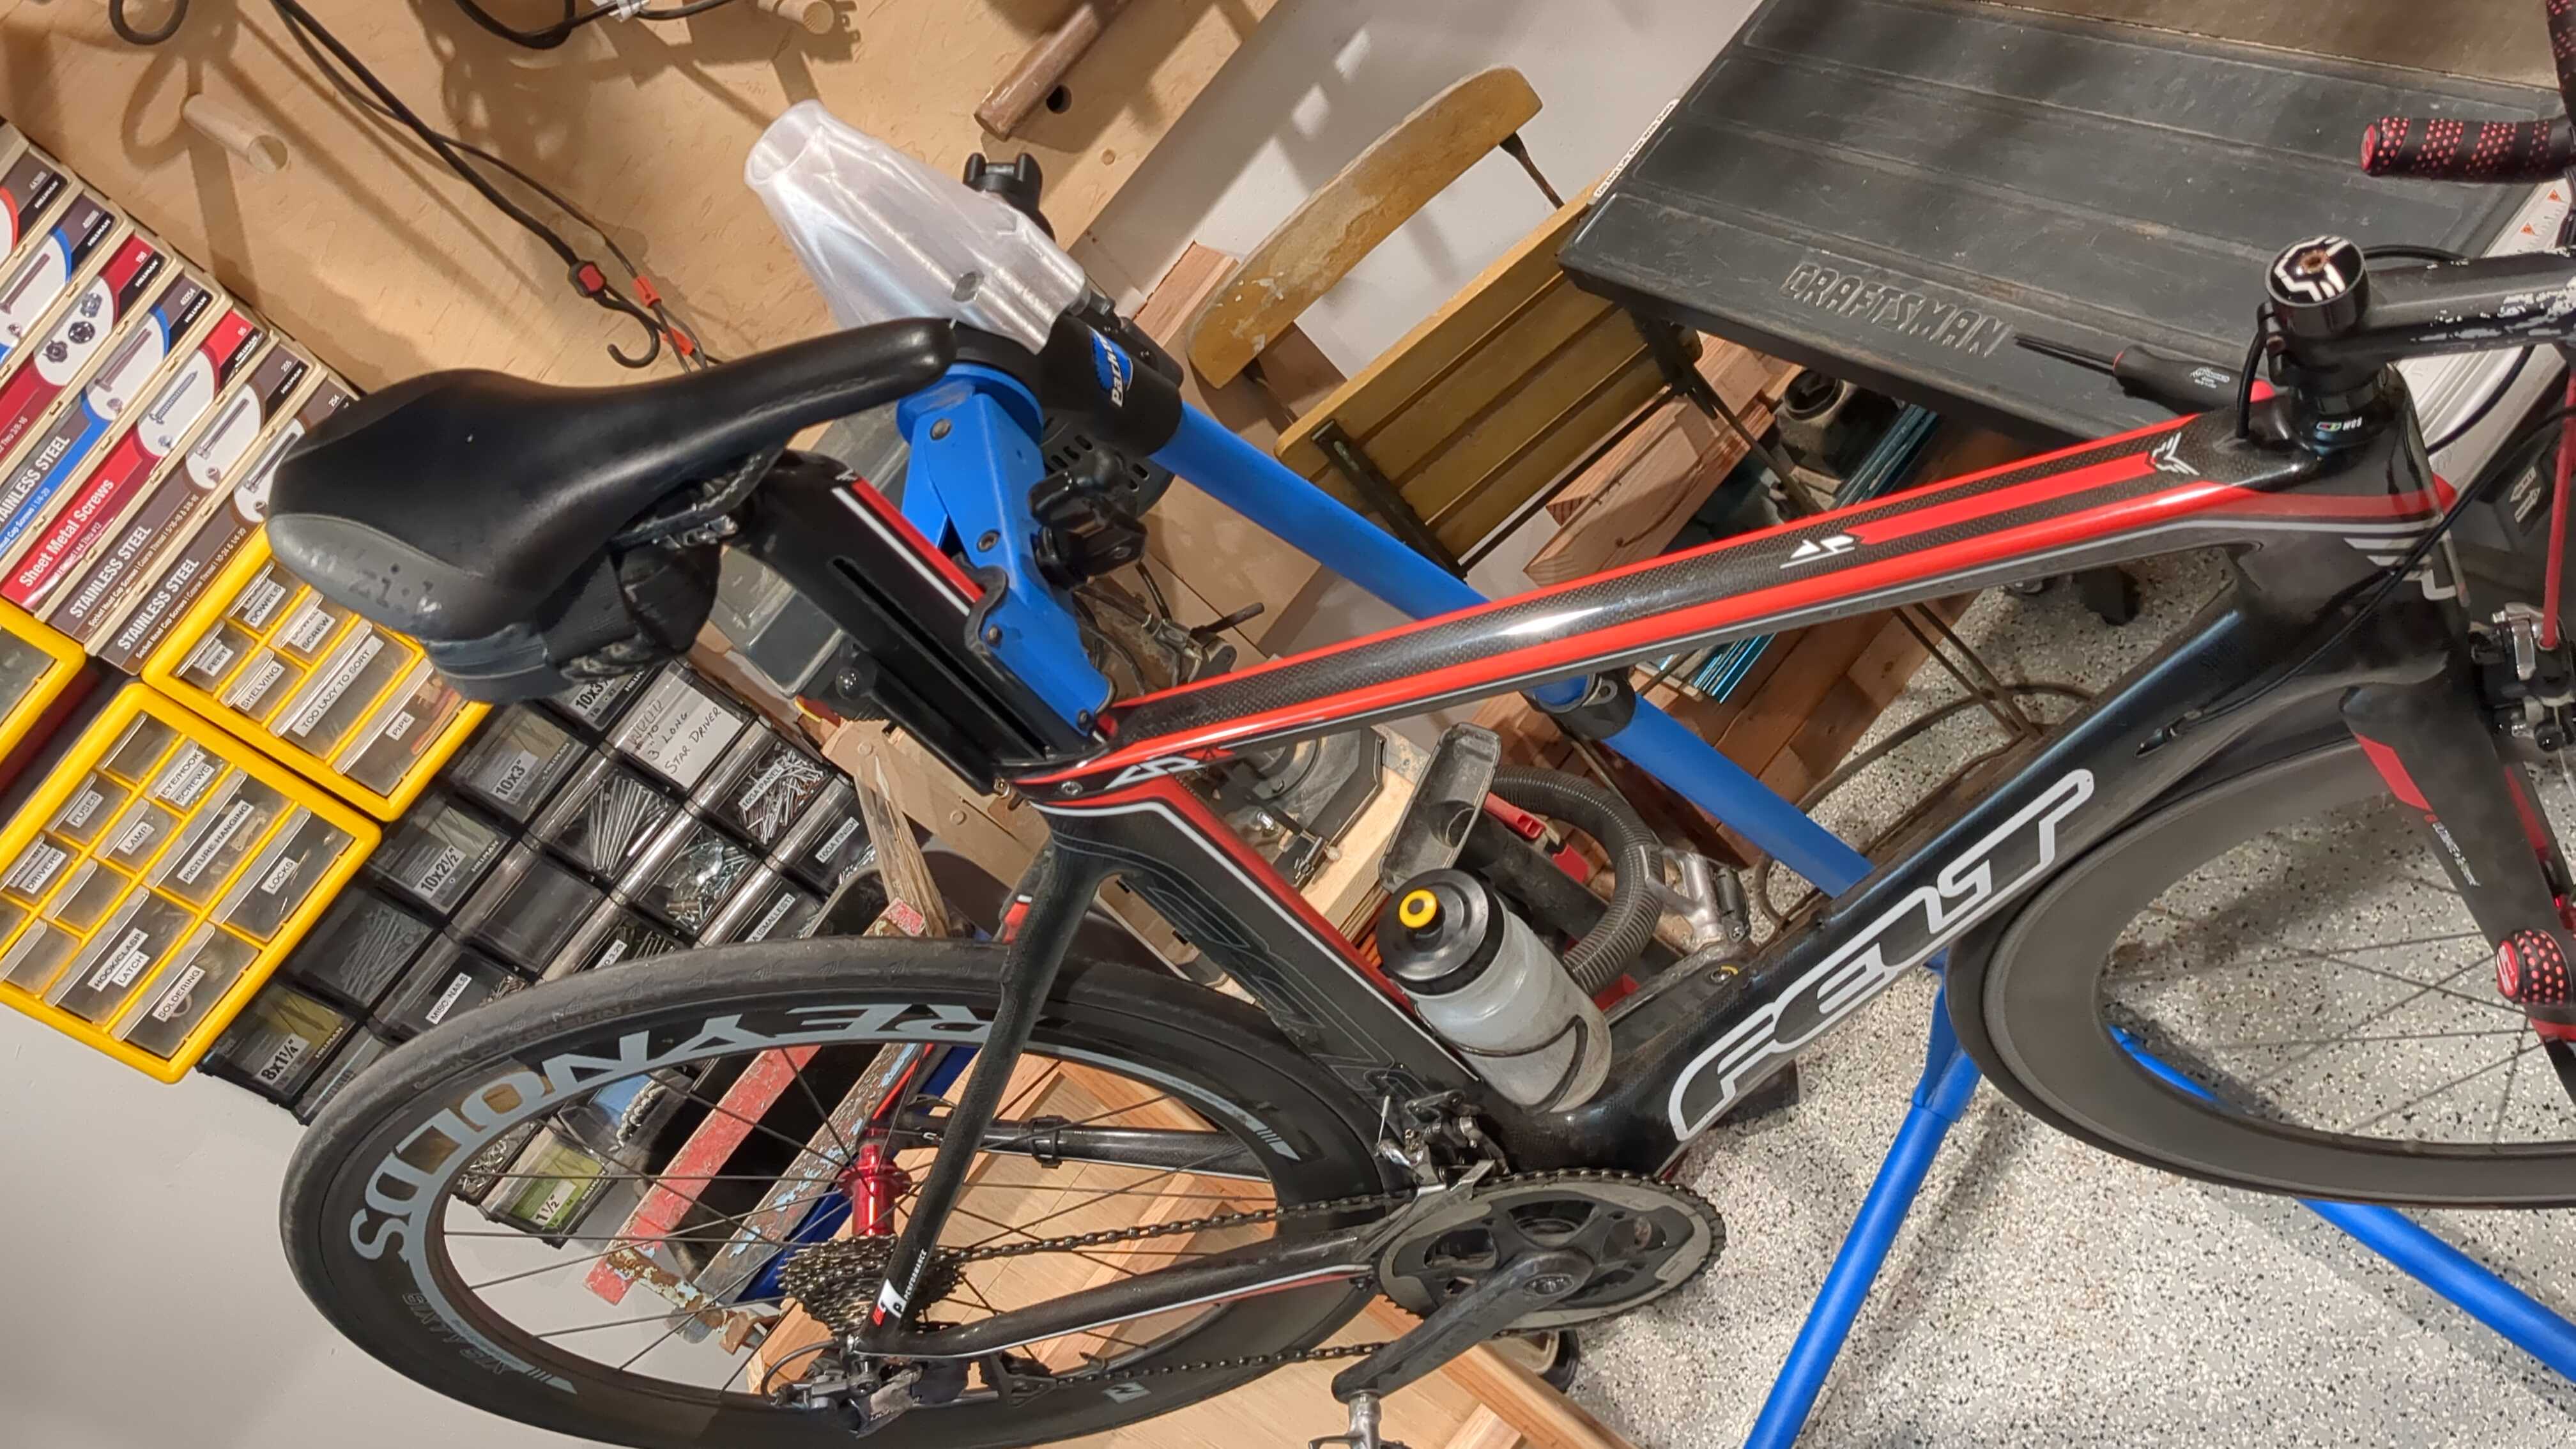
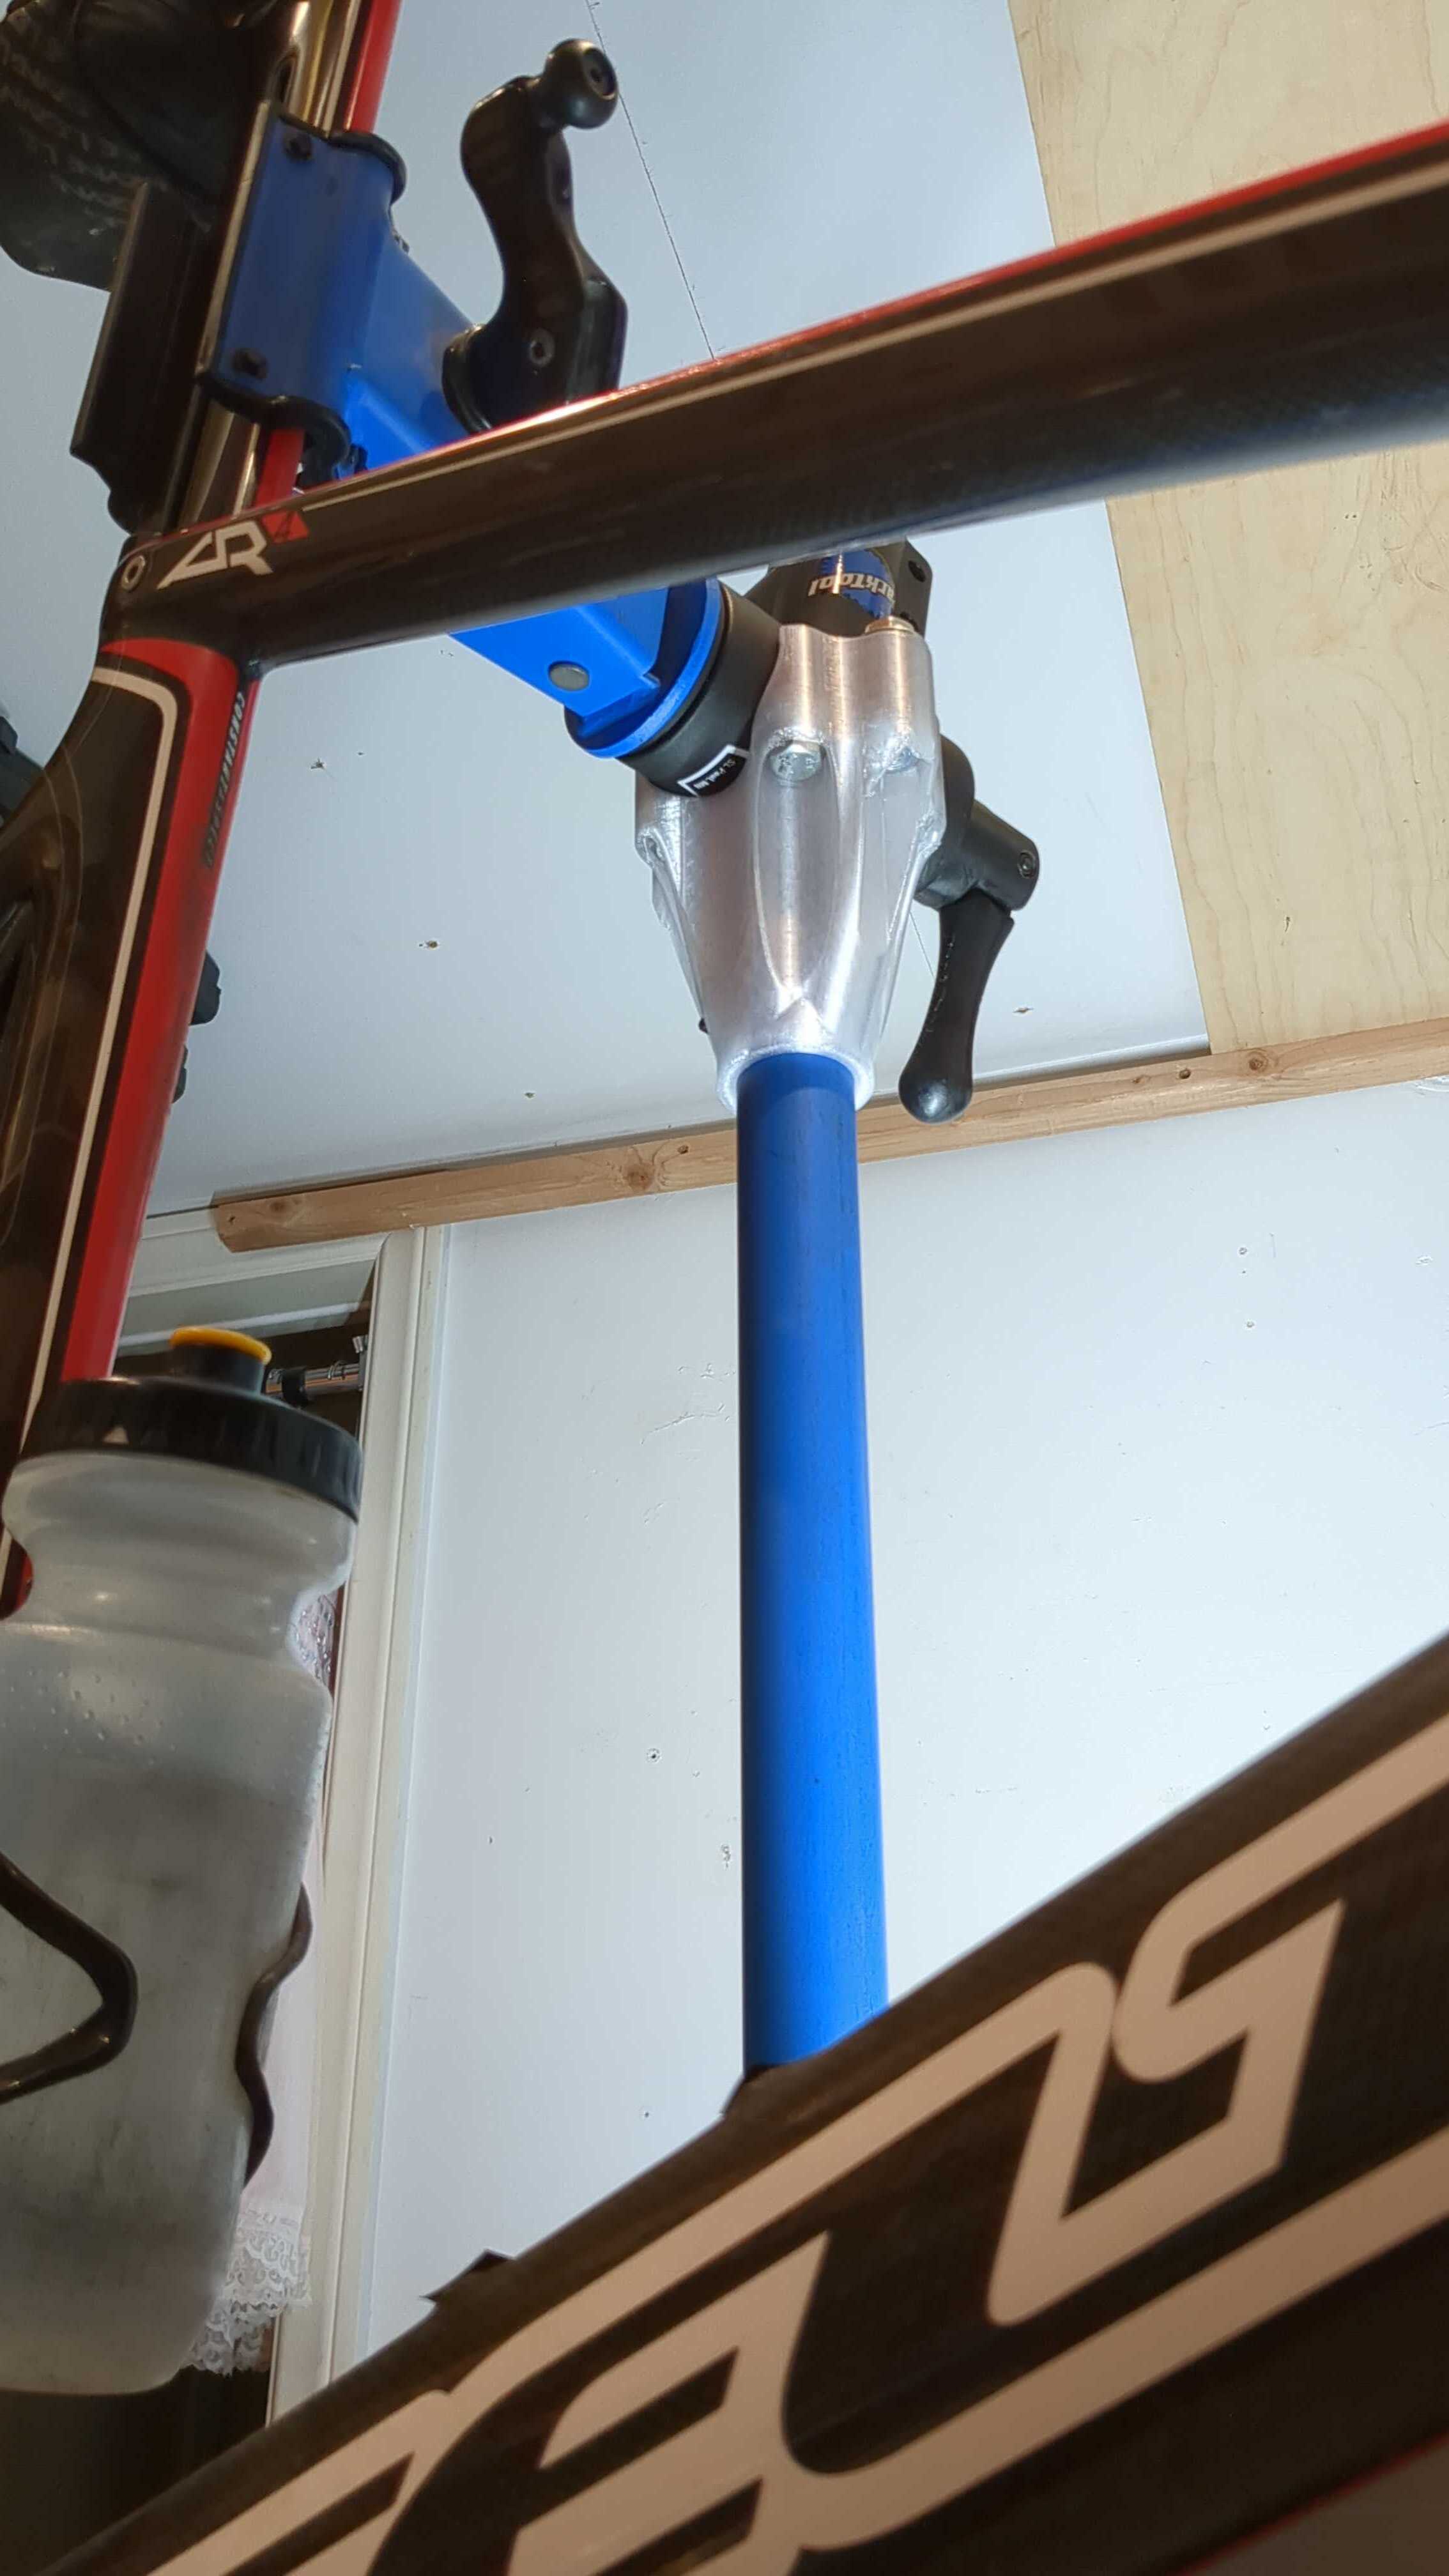
Portable bike stands take up a lot of floor space and suck to deploy and collapse every day. I'm in the process of converting the main stand upright tubes and head to attach to the side of a toolbox cart instead of the base of the portable stand.

Look mah, no supports:

Too much floor space wasted:

I was afraid the pedals wouldn't clear when the head is mounted vertical, but it looks like I still have around 5-10 millimeters of clearance. I still need to design and print the actual clamp mount to the toolbox. This was just a mockup with some wood clamps to check pedal clearance first.

5


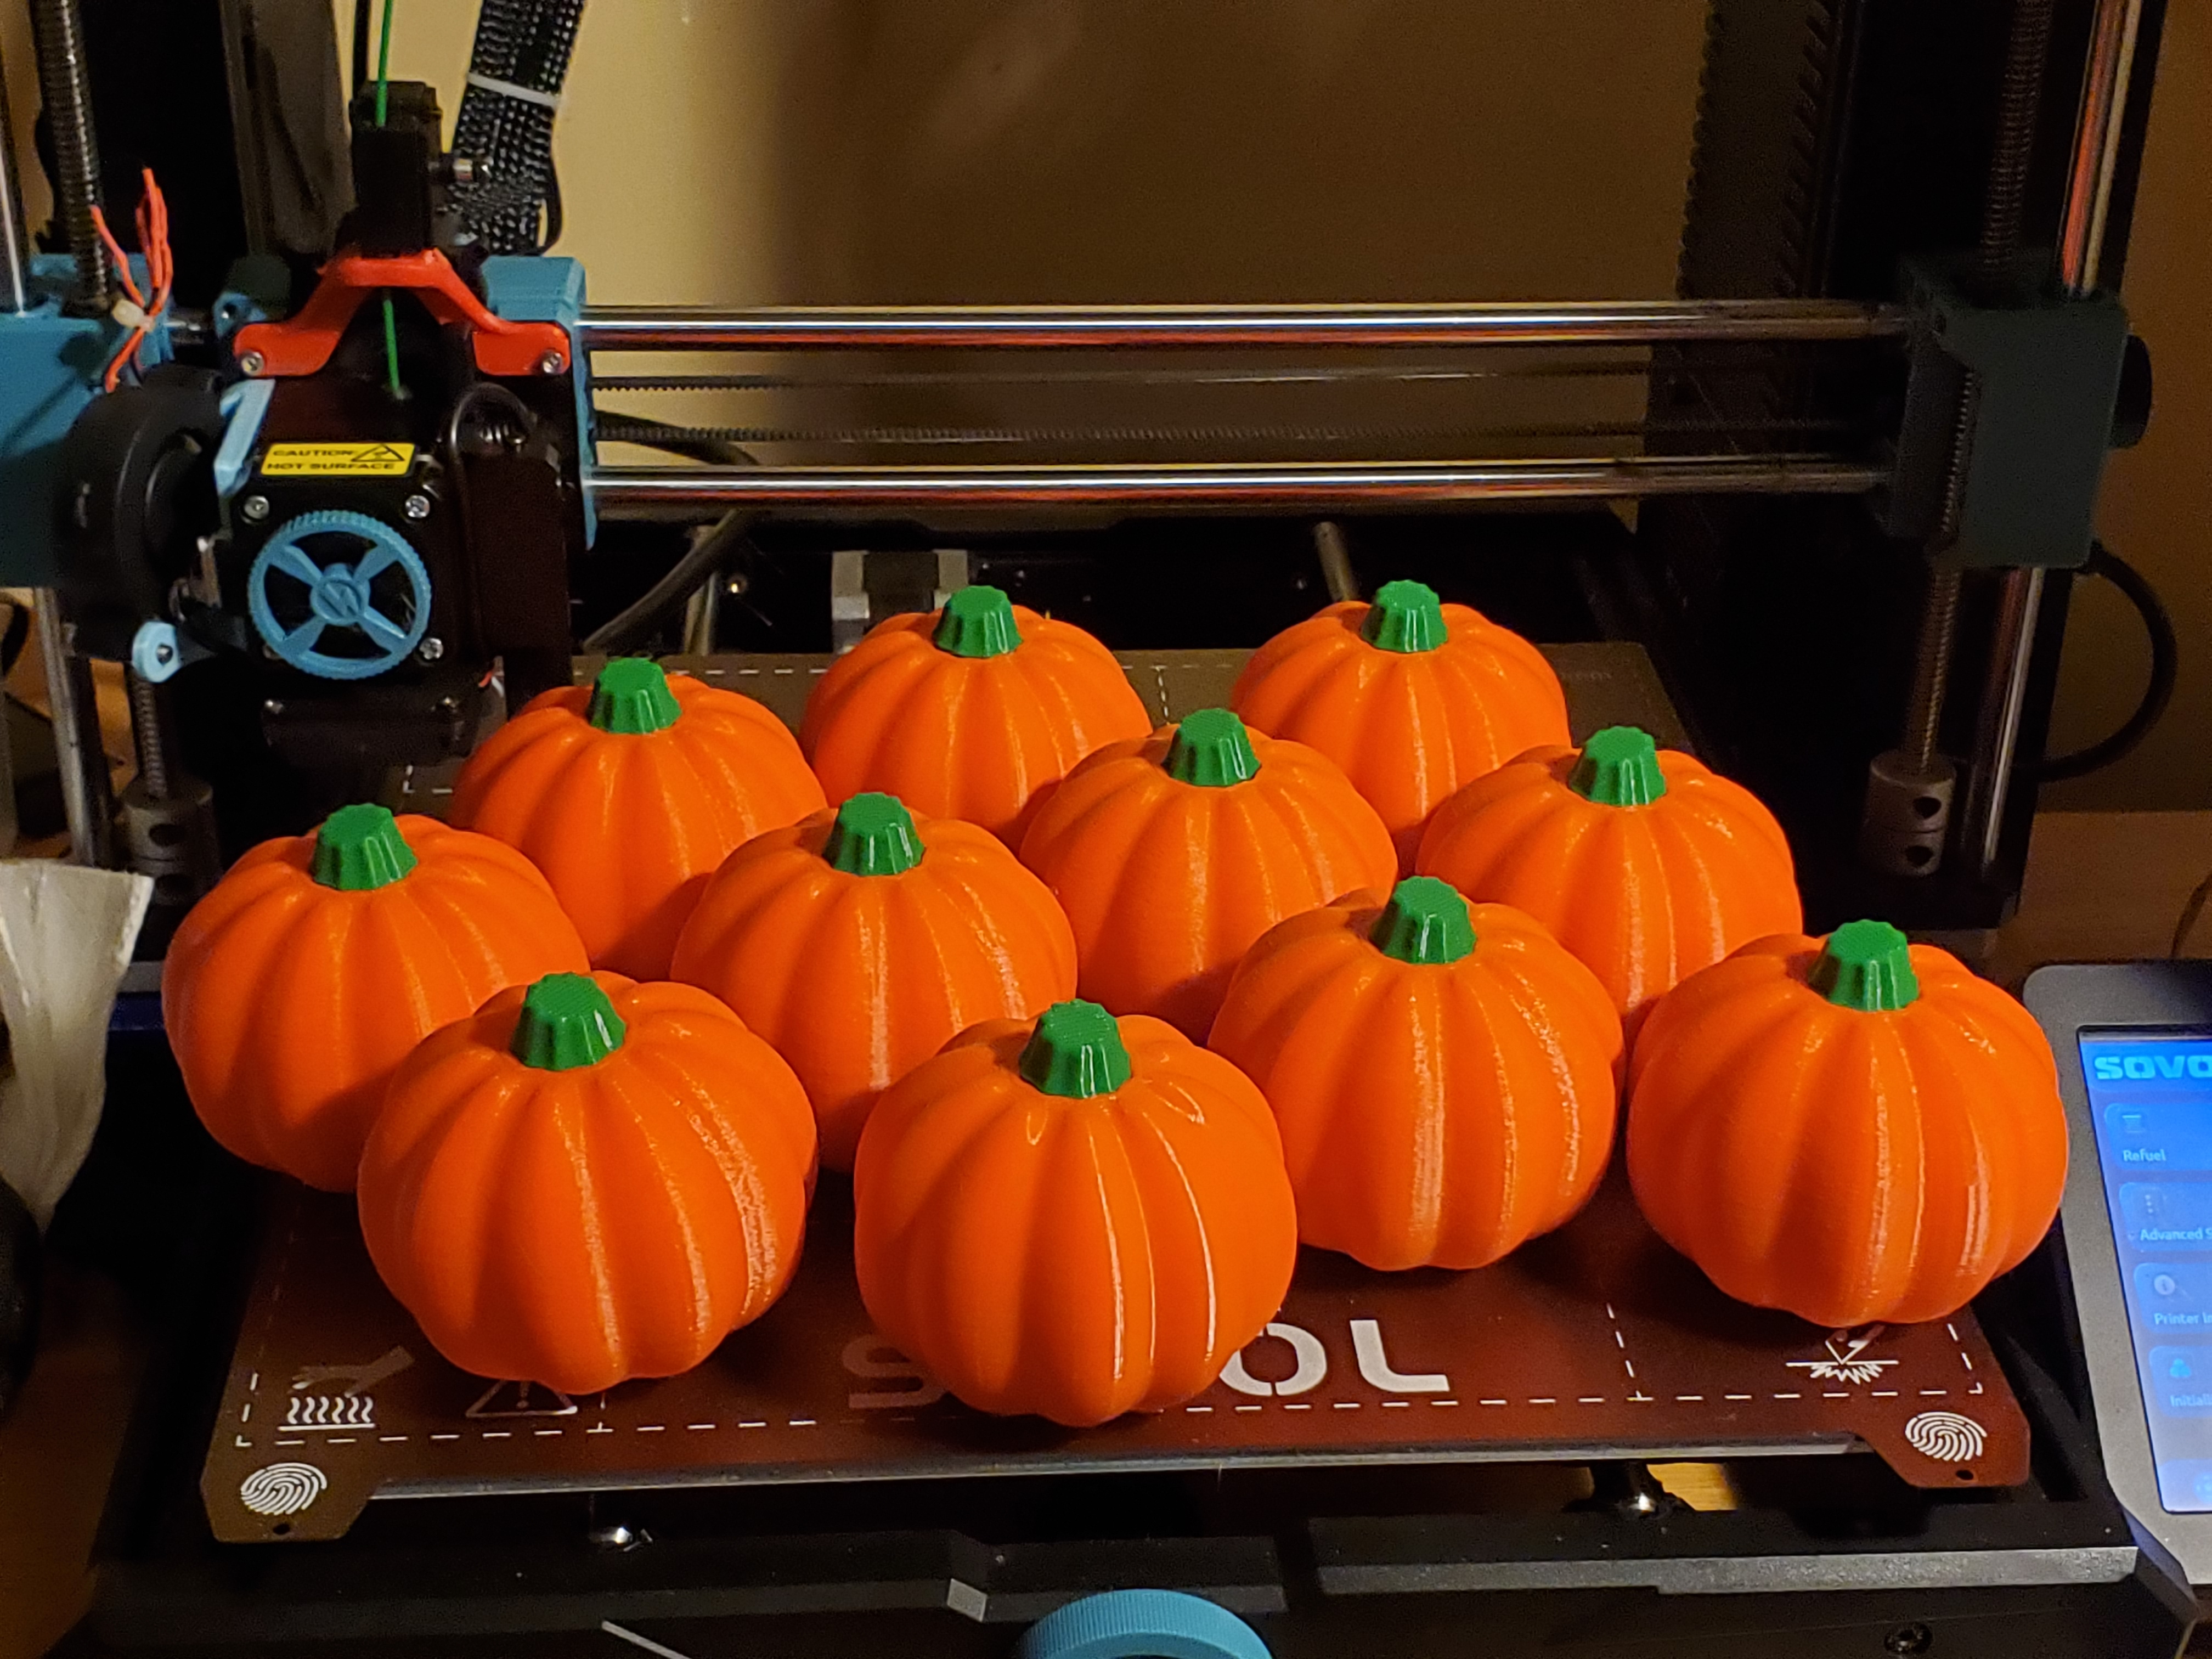
11 pumpkins printed! The bodies and stems are printed separately and glued together. (I'm not rich enough to have a multi material machine.) gonna give em out at the office.

STL https://www.printables.com/model/302562-pumpkin-with-separate-stem

6


Consider watching this video with FreeTube, a nifty open-source program that lets you watch YouTube videos without Google spying on your viewing habits!

Combined with Libredirect, which automatically opens youtube links in Freetube, it becomes really slick and effortless to use.

7
8
9


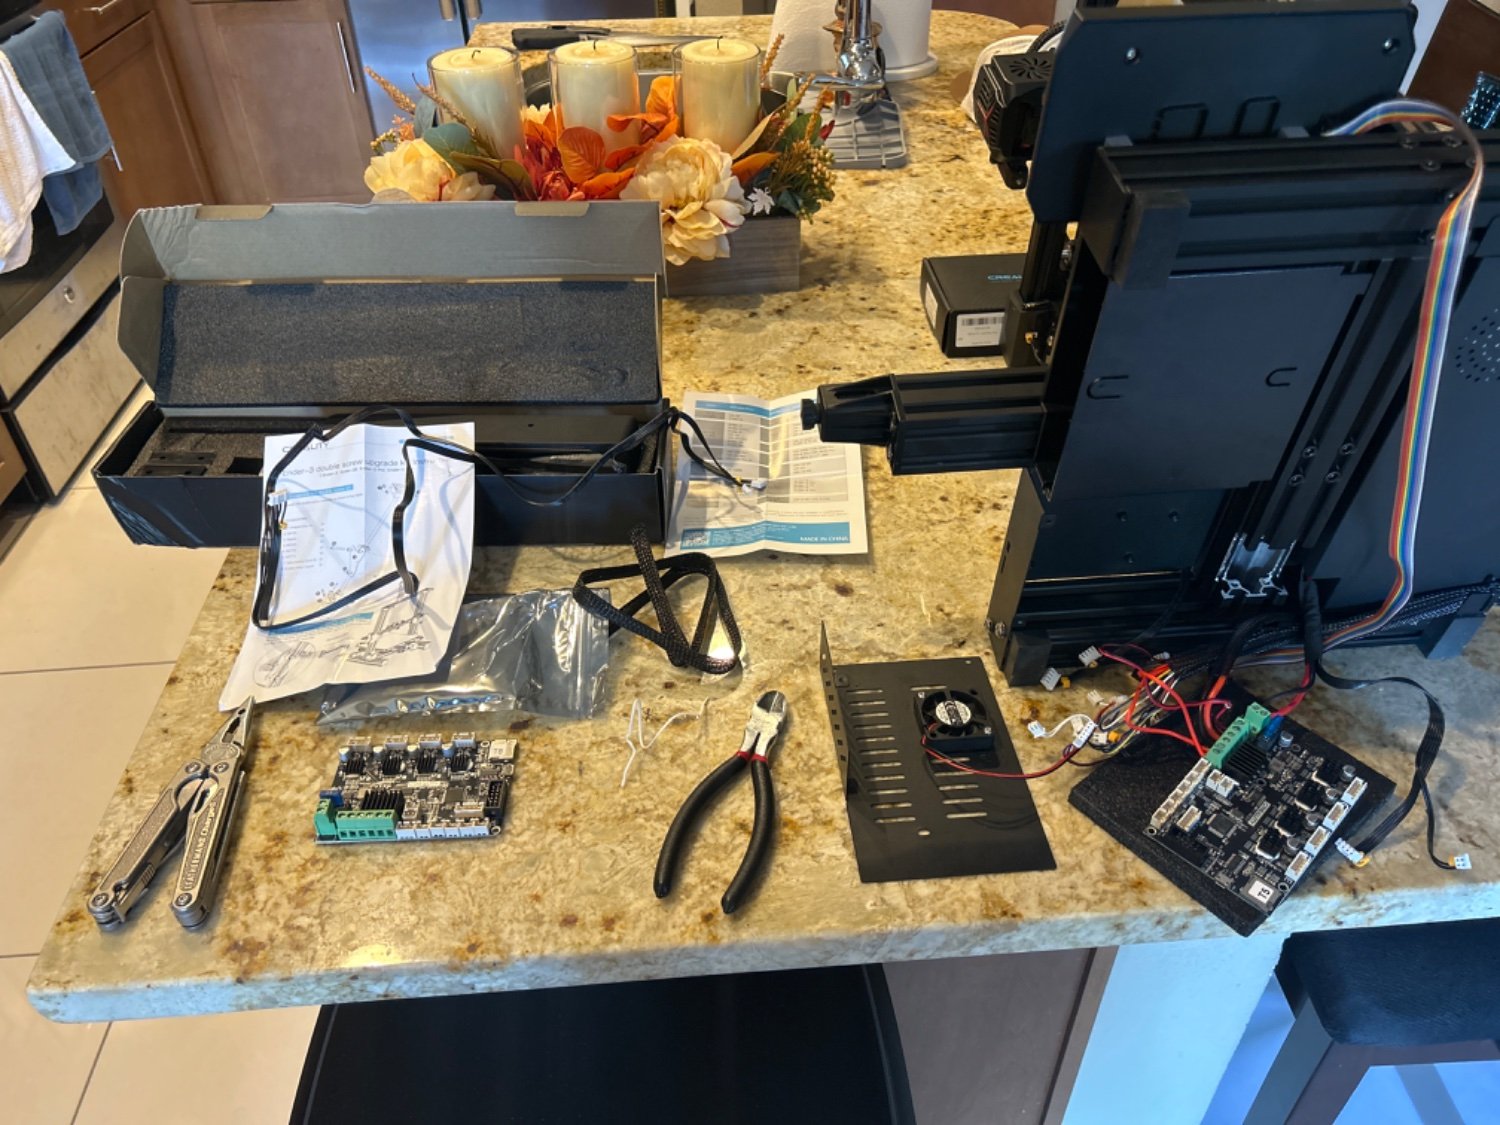
After tuning my vref, the printer was missing steps still. I pulled the trigger and am swapping from the 4.2.2 to the 4.2.7 creality board to see if that resolves the issue.

While i was in there, I figured I’d put another z axis motor on there.

Do you guys have any recommendations on firmware or should I just stick with creality’s?

10


Really nicely designed print, check the build guide for some really nice engineering details (very short video)

11


Archive link: https://archive.ph/EJZwR

12


https://www.youtube.com/watch?v=6Js8erWbsDQ

video description text:Want to see more tools like this? Im a finalist in the Prusa awards and winning would fund literally dozens of tools like this and help me keep the files free!

https://www.printables.com/awards     (vote for the ball vise, its bright orange :) )

Parts: Uploading tomorrow morning

Music: Minecraft soundtrack

Like subscribe all that stuff

0:00 intro

1:12 build

4:30 concrete time BAYBEEE

6:01 ready to use

9:58 thoughts My name is Chris, I am a 3D printing hobbyist from australia. I dont really specialise in anything specific, but 3D printed tools and tabletop accessories are some things youll probably seen quiet often. I do all my 3d printing on a Ender 3, which I highly recommend as a budget printer. Currently I only run 1 printer but I hope to expand that in the future. Recently acquired a photon 0 to do resin printing with. I like to share all my 3D printing ideas for free although I do plan to sell stuff in the future. Most of my projects will be mostly 3D printed with a few non printed components included, these can often be found on ebay. I actually use the cheapest filament I can get for all my projects, again I hope to change this in the future.

I've been watching Chris' lathe builds for awhile. This concrete pour seems like a really useful idea. The lessons learned and advice given here are valuable insights into the practical aspects of this technique.

My main underlying curiosity is what happens when such a methodology is used to create automated single purpose machines.

13
14


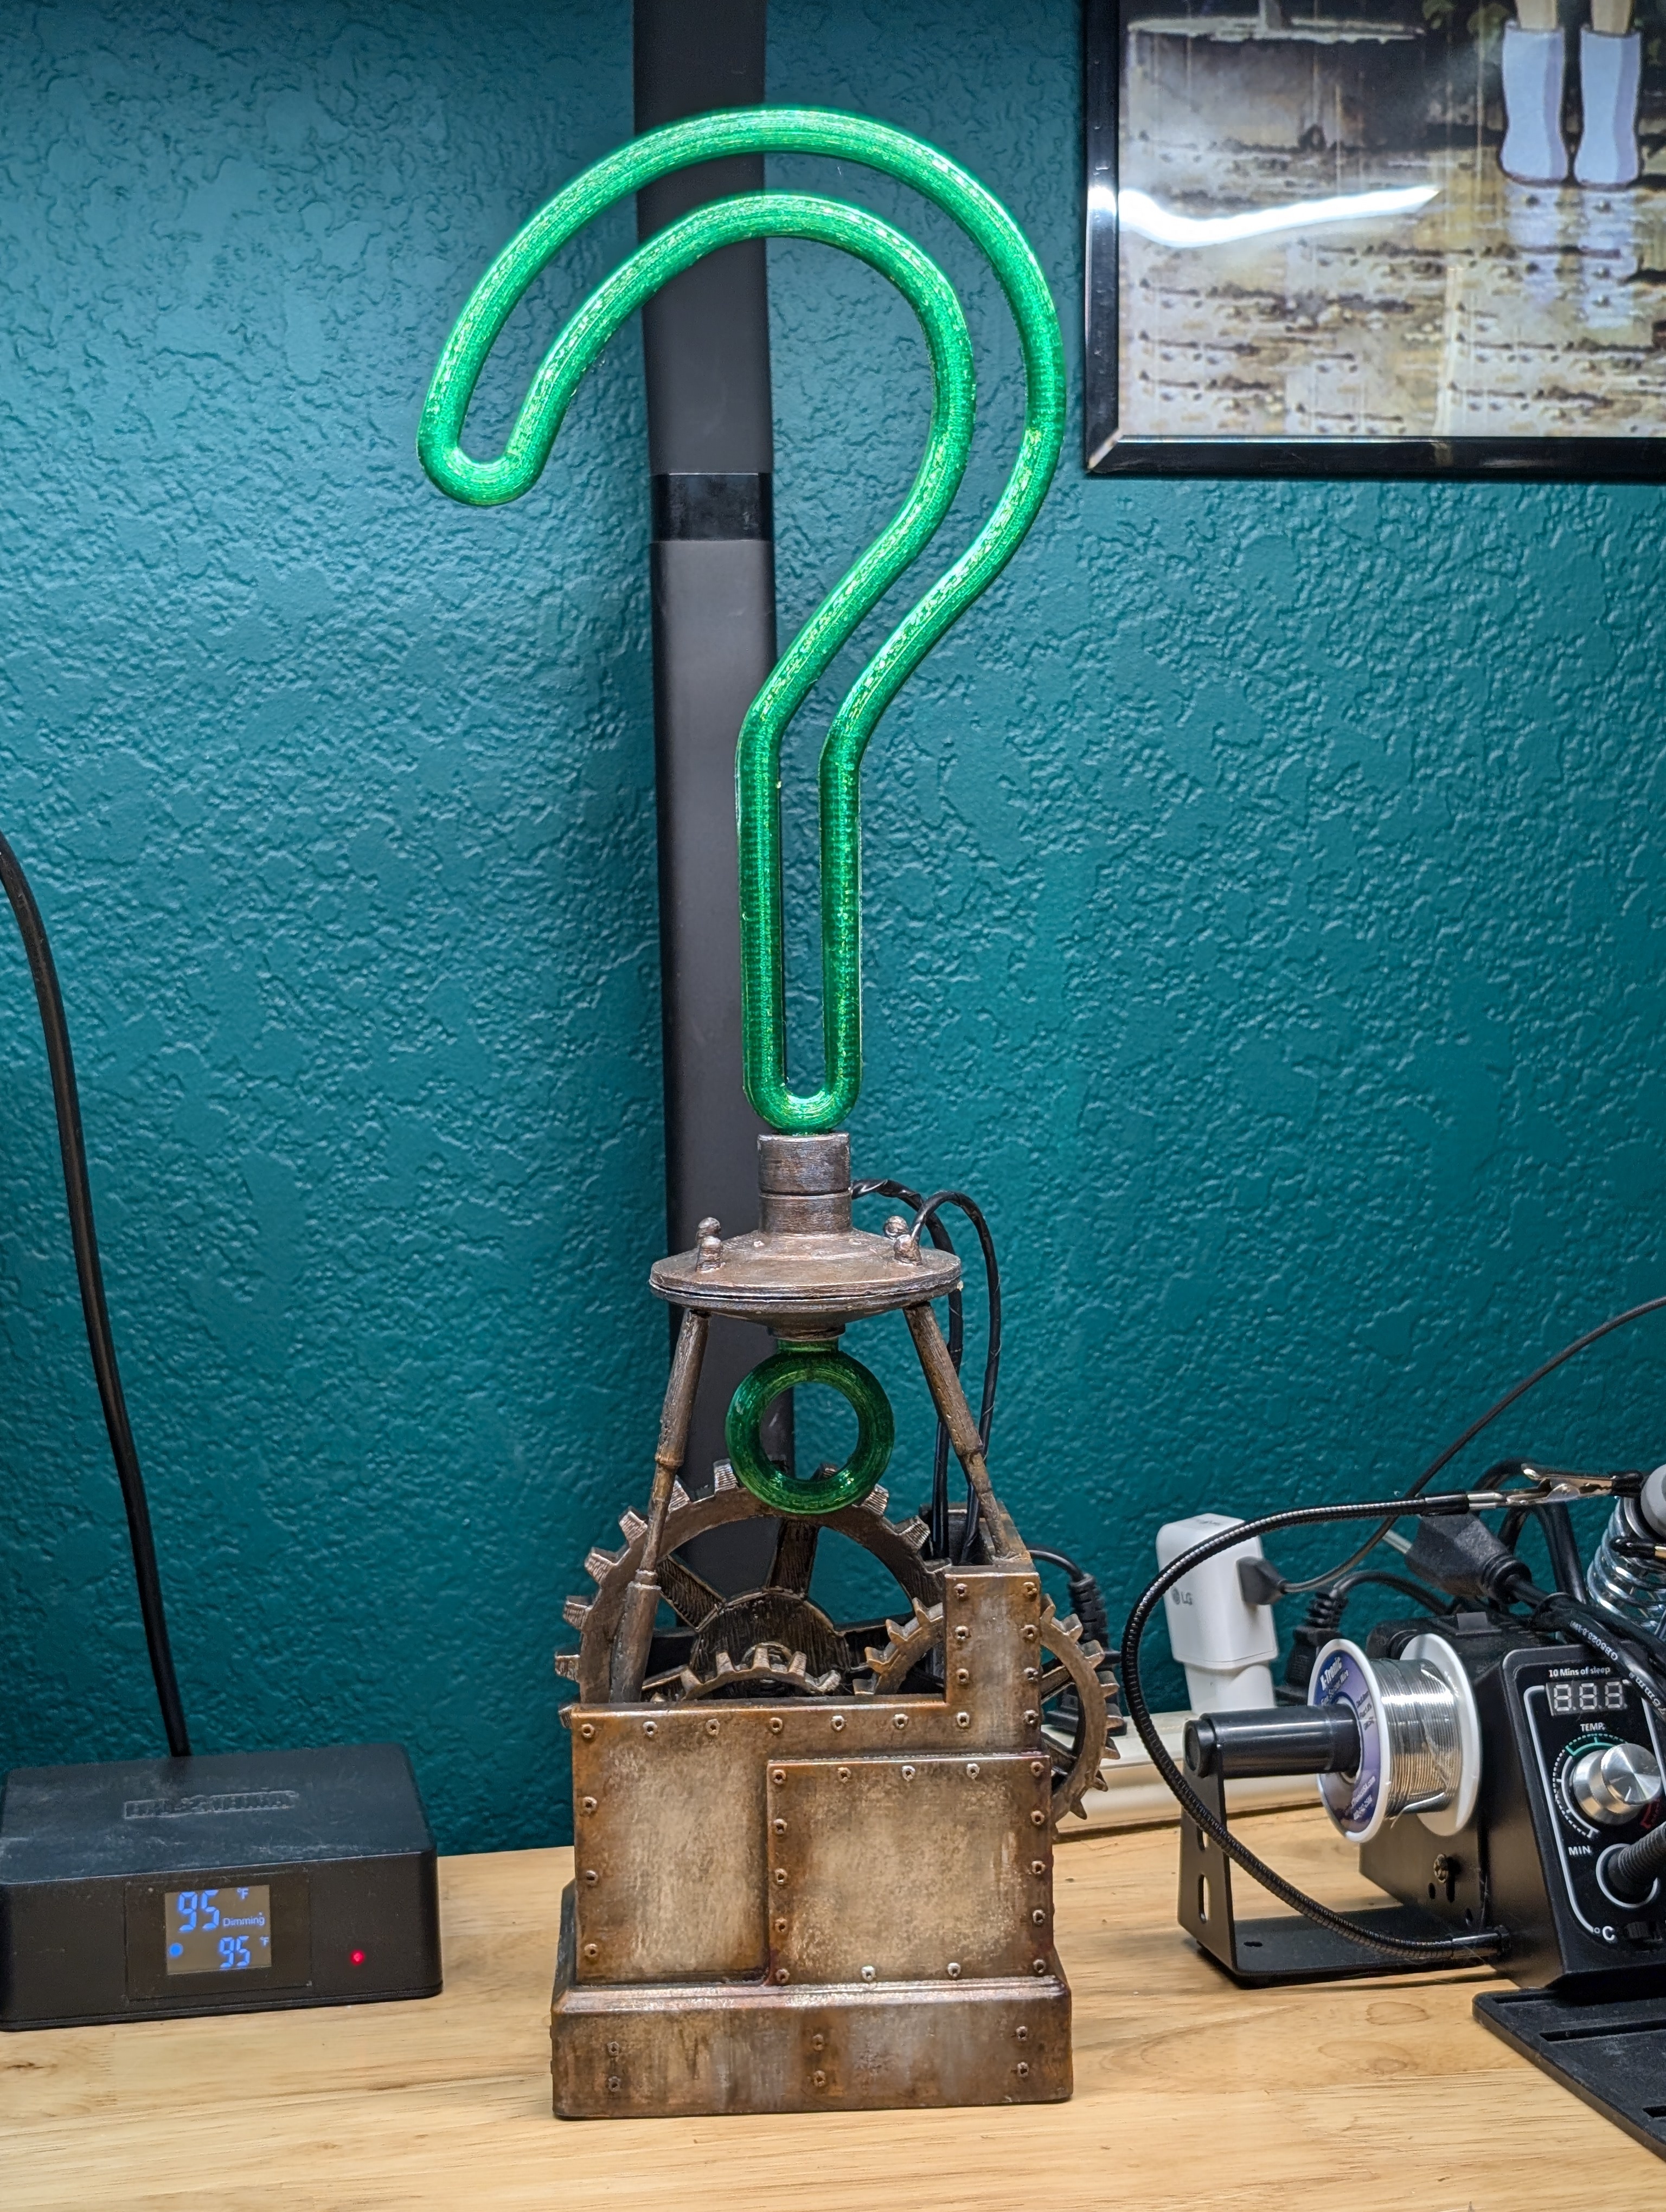
Really happy with how it turned out! Decided to show it off to strangers for now as I haven't given it to him yet and i know he isn't on here. 😆. And it lights up!

15


Even though it's only research and nowhere near silicon in terms of effectiveness, I find the prospect of maybe one day being able to print simple circuits very exciting :)

16
 
 
17


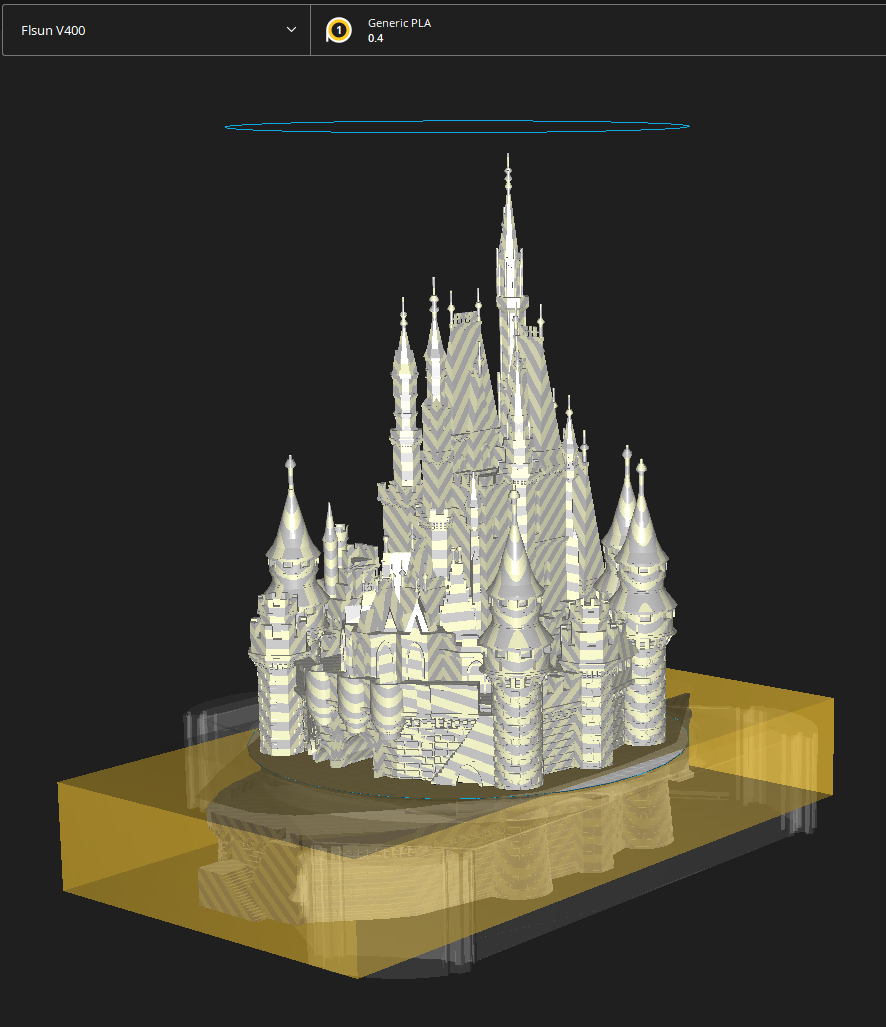
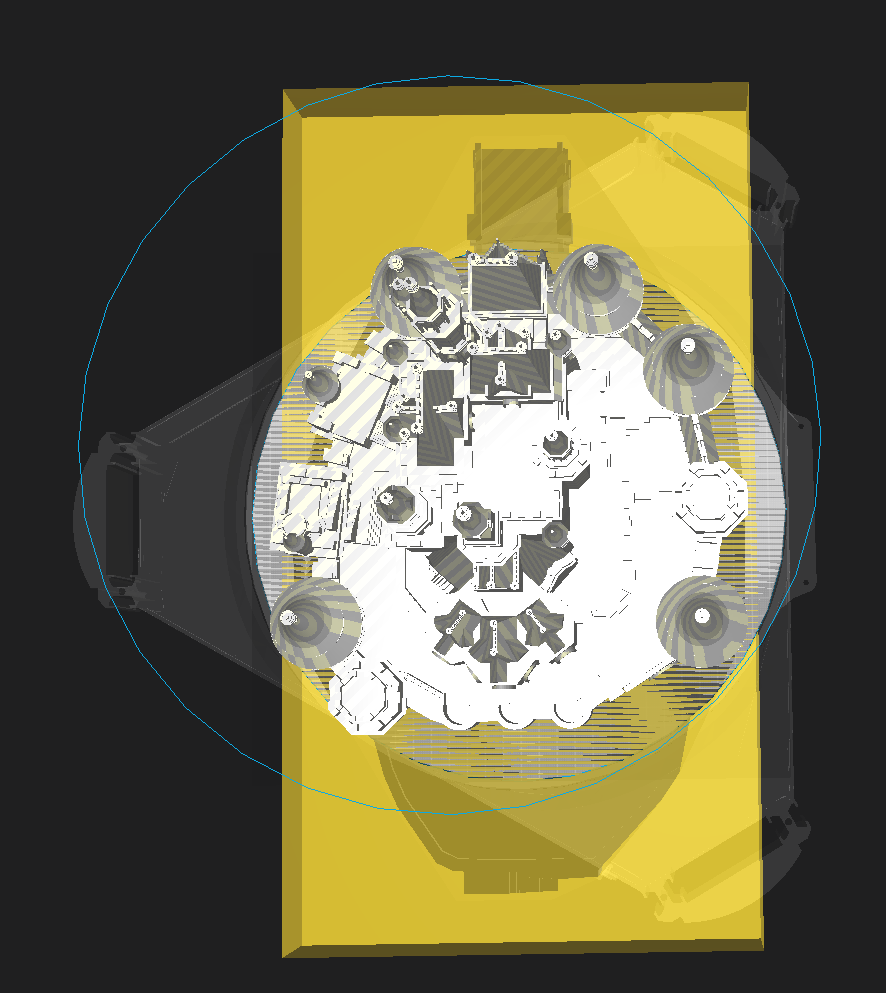
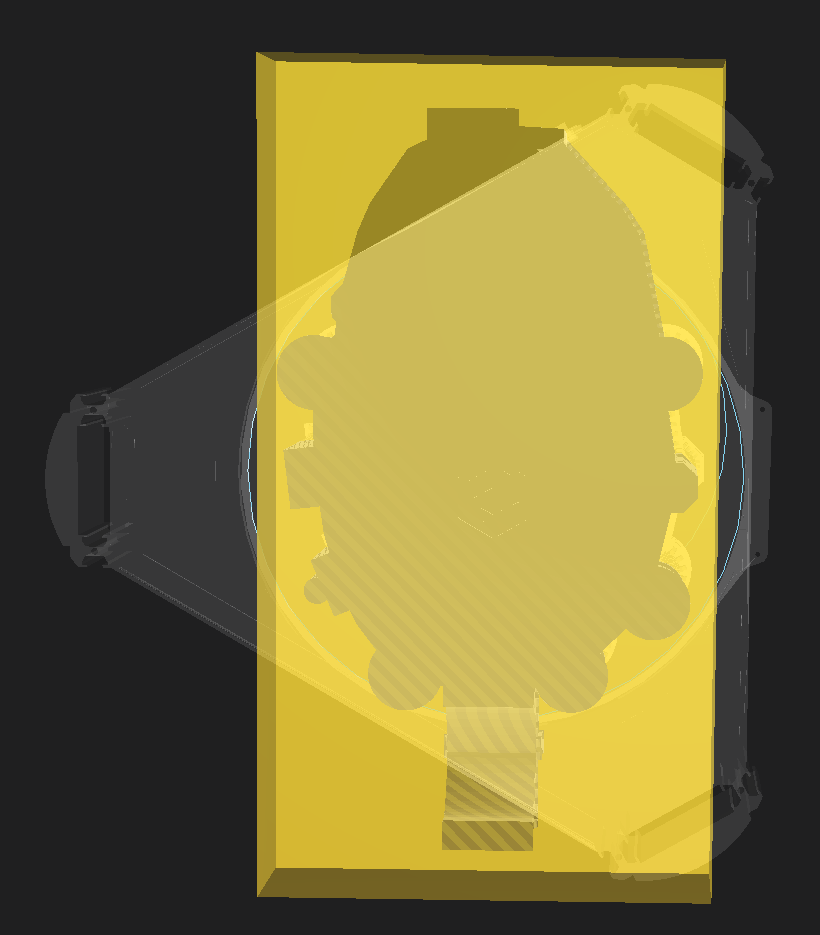
Hi, I'm trying to get this to slice in cura 5.6.0

Yellow block is set as a cutting mesh. Can Cura just not ignore stuff outside of the bulid area?

iso top bottom

I'm open to suggestions on how to cut it outside of cura as well. I tried meshmixer, but the import absolutely destroys the stl stl iso

Thanks!

18


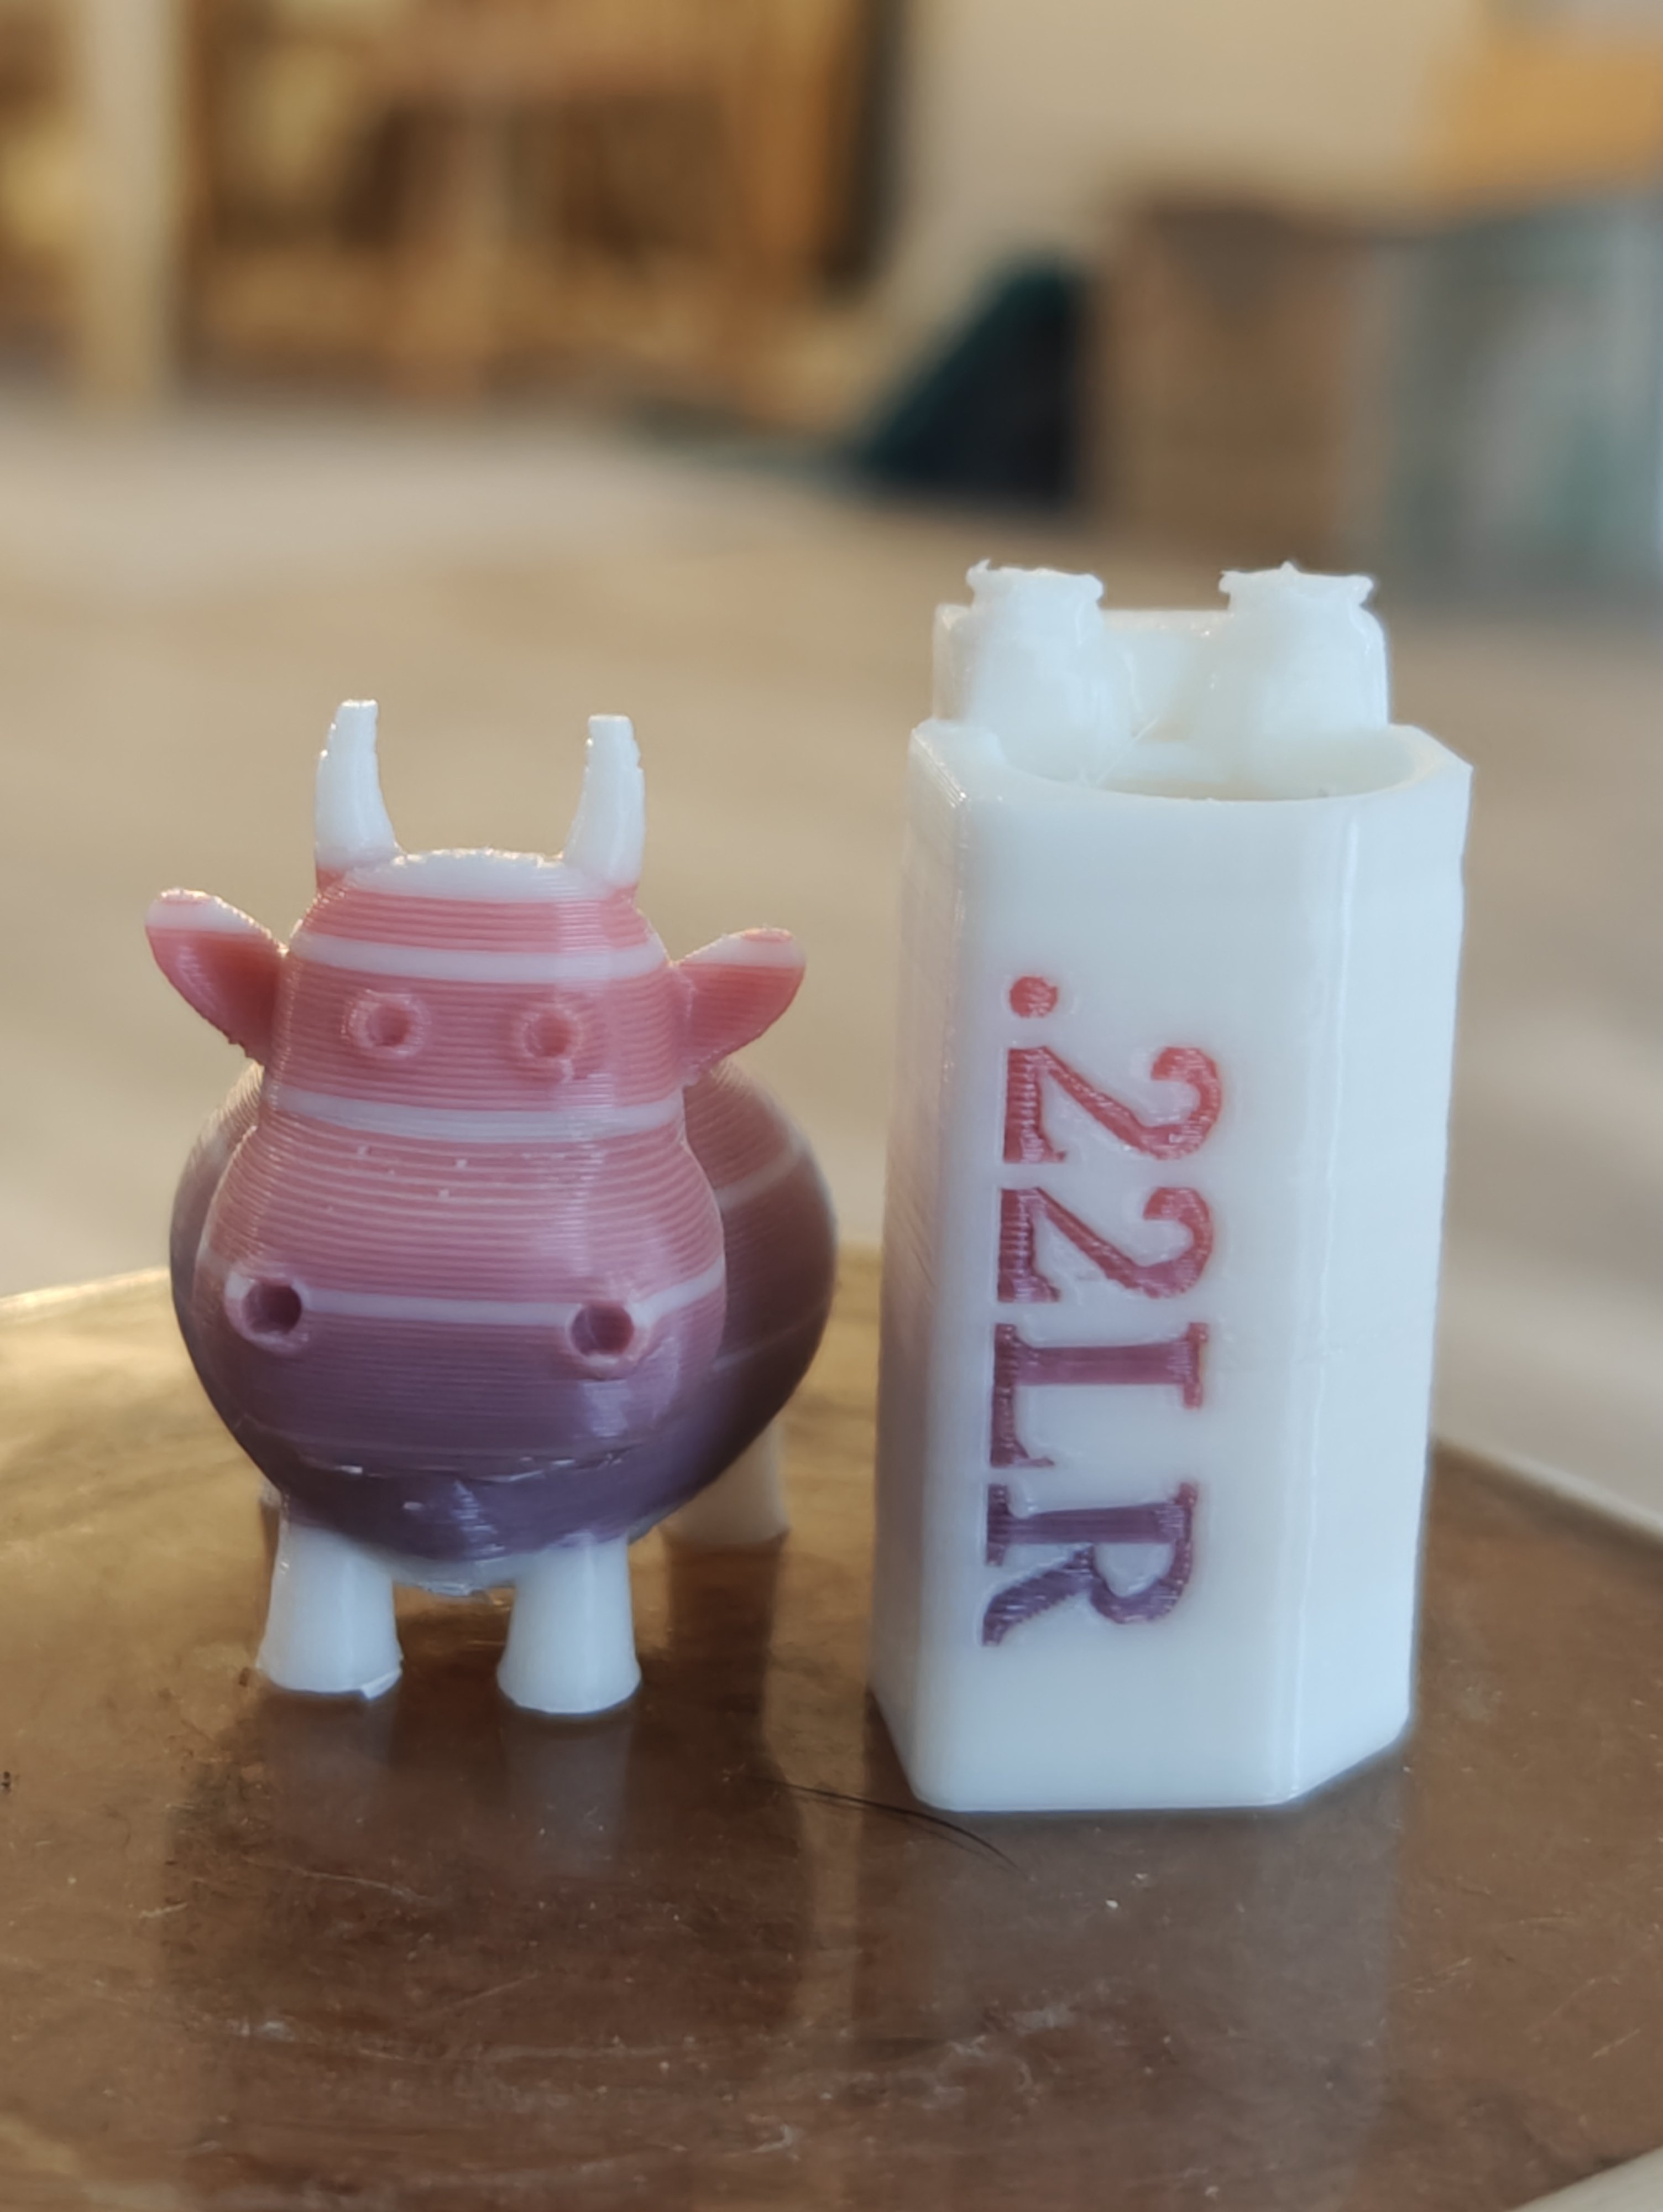
Decided to do multicolor accents on a fosscad print and made a little cow from the purge material for my friend's kid

If you are using purge objects with you MMU you should start! Cuts the waste down to just mere grams.

This was made on a 3D chameleon hooked up to my K1 Max.

19
20


https://www.youtube.com/watch?v=6tHInlFfMcM

copy of the video description text:Over the years, I've collected a lot of silica gel packages and regularly put them into my stuff, hoping that they will keep it dry. These tests showed me that there is more than silica gel in the typical desiccant packages and that if you don't properly dry them, they can even ruin your filament. Let's compare four different methods to keep your loose desiccant and your silica packages dry!

Chapters
00:00 Introduction
01:19 What's inside a desiccant bag?
01:54 Sponsor
03:19 Clay desiccant
04:57 Indicating desiccant
06:53 The problem with desiccant
10:26 Get rid of your desiccant bags?
11:06 Drying desiccant
14:38 Drying in a microwave
16:40 How much energy does it use?
19:34 Drying the bags in a microwave
21:48 Do you damage your desiccant in the microwave?
23:18 Summary

I'm surprised Stephan did not mention that bentonite clay is commonly used for cat litter.

21
22


Hi all! I've been scratching my head for a while now trying to get this figured out. I've got Klipper installed on my Elegoo Neptune 3 Pro, and I've never had perfect bed meshes. The back left is still too close, the back right is still too far.

The images show the difference between the corners (My Z-Offset was too close on this run so it's squishing too much all over, but the difference is still visible).

I recently installed kyleisah's Adaptive Meshing & Purging in hopes of this being a better solution, and I've put my tension up to 0.5, but have gotten marginal improvements. I've also attached my printer.cfg. The Bed Mesh values at the bottom can be ignored, since the adaptive meshing gets a new mesh every print.

Middle

Front Right

Back Left

Klipper Mesh

printer.cfg

23


After 5 years my trusty old textured plate is wearing out and I'm in the market for something new. I print PLA, PETG, ABS, and TPU. There are so many choices now and I need some guidance!

24


Man, what else have I missed?

25
17
submitted 2 weeks ago* (last edited 2 weeks ago) by [email protected] to c/[email protected]


Hey folks,

I'm not sure what I'm doing wrong. I'm printing PETG (https://kingroon.com/collections/petg-filament?) on my Neptune 3 Plus. It's sort of like it starts (almost) ok, sticks to the plate just fine, then a few layers up it seems to almost have inconsistent extrusion (or maybe even trouble pulling the filament?) leading to holes, etc. till the model just falls apart. See linked photos for about where I give up each time.

I'm printing with Cura and 240C printing, 90C on the build plate. 45mm/s (I've gone down from 60mm/s). Retraction on, no z-hop. 60% fan, though I've tried it with 20% and 100% fan as well.

The filament is in a dryer at 55C. Funny enough I printed basically perfectly (without drying, straight out of the bag) with default settings the first time I printed. The second time and on, have had this problem... and have had it in the dryer.

Any ideas would be much appreciated. Thanks!

Edit: In case its useful, I'm printing this piece: https://file.io/D9jxYq4KOrL7 which is a small remix of a piece from https://www.printables.com/model/130507-bolt-action-pen-for-pilot-g2-cartridges

view more: next ›